

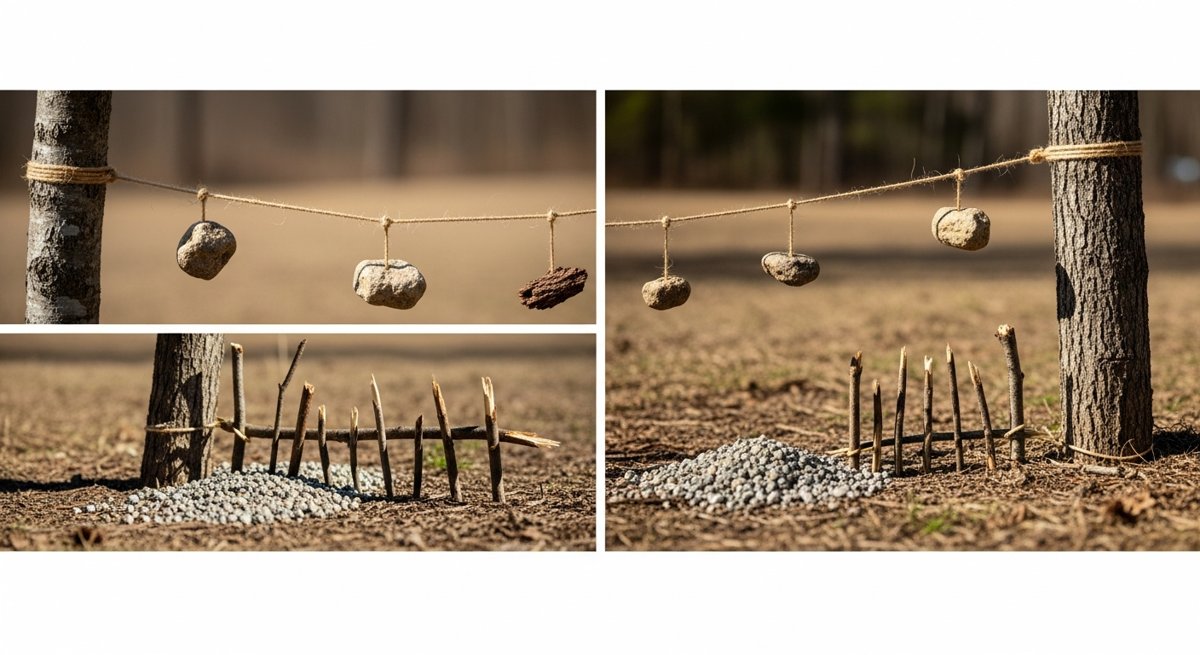
Here’s something that bugs me about the prepper world: everyone jumps straight to cameras, motion sensors, and $400 trail cams before they’ve even thought about the basics. Meanwhile, humans have been securing perimeters for thousands of years with nothing but string, rocks, and common sense.
Today I’m going to walk you through how to set up a layered early warning system around your property using low-tech, no-power methods that actually work. No batteries to die. No Wi-Fi to go down. No apps to crash. Just physics and a little bit of cleverness.
This isn’t about replacing modern security — it’s about building a foundation that works when everything else doesn’t.
Why Low-Tech Still Matters
Power goes out. Internet drops. Batteries die at 3 AM. Every electronic system has a failure mode, and Murphy’s Law says it’ll fail when you need it most.
A low-tech early warning system has exactly one failure mode: someone physically dismantling it — which, by the way, also tells you someone is there.
The real value here is layered awareness. You want to know someone is approaching before they reach your door. Not after they’re already inside. Every second of advance warning changes your options dramatically.
Layer 1: The Outer Perimeter — Ground Alerts
Your first line of detection should be 50-100 feet out from your home — or wherever your property line sits. The goal isn’t to stop anyone. It’s to hear them.
Gravel Pathways and Kill Zones
This is the oldest trick in the book, and it’s the oldest trick because it works. Spread a 3-4 foot wide strip of pea gravel along likely approach routes — gates, gaps in fencing, the path from the road to your house. It’s impossible to walk on gravel quietly. Impossible.
Japanese castle designers figured this out centuries ago with nightingale floors — wooden floors engineered to squeak when stepped on. Same principle, cheaper materials. A few bags of gravel from the hardware store and you’ve got an audible perimeter that never needs charging.
Pro tip: Focus gravel on the 2-3 most likely approach paths, not the entire perimeter. Think about where YOU would walk if you were approaching your house for the first time. That’s where the gravel goes.
Dry Brush and Leaf Litter Zones
In wooded areas, stop raking. Seriously. A thick carpet of dry leaves and small branches is a natural noise trap. If you want to get intentional about it, pile dry brush in natural-looking arrangements along tree lines and fence gaps. Anyone moving through it will sound like a deer — and you’ll hear them from inside your house with the windows cracked.
Layer 2: The Mid-Perimeter — Tripwire Alerts
Now we’re getting into the fun stuff. Between your outer noise zone and your home, set up simple tripwire systems that create audible alerts when triggered.
The Can-and-Line System
You’ve seen this in every survival show, and there’s a reason: it works reliably.
- Run monofilament fishing line (20-30 lb test) between two anchor points at ankle height — about 6-8 inches off the ground
- Attach empty aluminum cans with a few small rocks or pennies inside
- When the line gets pulled, the cans rattle and fall — unmistakable sound at night
- Use dark or green monofilament, not bright yellow
The key is height and tension. Too high and people step over it. Too tight and it snaps instead of pulling. You want slight slack — enough that a leg pushing through creates movement, not enough that it hangs visibly.
The Bell Wire Method
If you want something more discreet than cans, small jingle bells (the kind you find at any craft store) threaded onto monofilament work great. Quieter than cans — you won’t hear them from 200 feet — but perfect for closer-in tripwires near doors, gates, and windows. They’re small, cheap, and surprisingly loud in a quiet house at 2 AM.
Placement Strategy
Don’t run tripwires everywhere — you’ll trip over them yourself. Place them in choke points: gaps in hedges, between outbuildings, along fence lines where the fence is low enough to climb, and across any path you don’t use at night. Map your tripwire locations and walk your family through them. The last thing you want is your teenager triggering your own system at midnight.
Layer 3: The Inner Perimeter — Door and Window Tells
Your last layer is the house itself. Even if someone gets past your outer and mid perimeter, you want to know the moment they touch a door or window.
The Coin-on-Door Method
Balance a coin (or a small stack of coins) on top of a door that’s slightly ajar, or wedge it between the door and the frame. When the door moves, the coins fall and hit the floor. Simple. Effective. Used by travelers in sketchy hotels for decades.
Window Sticks and Glass Tells
A wooden dowel in the window track prevents it from being opened — that’s security 101. But for warning, lean a lightweight object (empty glass, small vase) against the inside of the window frame. If the window gets pushed, the object falls and breaks or clatters. You’re not trying to stop entry. You’re buying yourself seconds of awareness.
Door Barricade with Noise
At night, place a chair with a few empty cans on the seat against interior doors you don’t use. If the door pushes open, the chair moves, cans hit the floor. It’s crude. It’s effective. It’s been working since the frontier days.
Putting It All Together: Your Weekend Project
Here’s how to implement this in one Saturday afternoon:
- Walk your property. Identify the 3 most likely approach routes someone would use coming from the road or neighboring properties. Mark them mentally or on a quick sketch.
- Set up gravel strips on at least 2 approach paths. Four bags of pea gravel from the hardware store will cover about 20-30 feet of 3-foot-wide path. Cost: ~$20.
- Install 2-3 tripwire lines at choke points between the gravel zones and your house. A spool of monofilament and a dozen empty cans cost you basically nothing.
- Set up interior tells on all ground-floor doors and windows you don’t use at night. Coins, glasses, cans on chairs — whatever makes noise when disturbed.
- Brief your household. Everyone needs to know what’s where so they don’t trigger it themselves. Walk the system together before dark.
Total cost: Under $30. Total time: 2-3 hours. Effectiveness: Dramatically better than nothing, and it works during a power outage when your Ring doorbell is a paperweight.
A Word on Dogs
I’d be a fraud if I didn’t mention this: a dog is the single best low-tech early warning system ever developed. Thousands of years of co-evolution specifically selected for animals that bark when strangers approach. If you have the means to care for one, a dog with good hearing and a loud mouth beats every system on this list combined.
That said, not everyone can have a dog. And even if you do, these layers give you redundancy. Dogs sleep. Dogs get sick. Dogs can be distracted. Your gravel doesn’t take days off.
The Takeaway
Security isn’t about one big expensive system. It’s about layers. And the most reliable layers are the simplest ones — the ones that don’t need power, don’t need updates, and don’t need you to remember a password.
This weekend, give yourself the project. Walk your property. Identify the gaps. Set up at least two layers. You’ll sleep better knowing that nobody is walking up to your house without you hearing about it first.
Your challenge: Set up at least one layer — even if it’s just gravel on one approach path — before Sunday night. Then go outside, walk it yourself, and listen. You’ll immediately understand why this works. Once you hear it, you’ll want to do the rest.