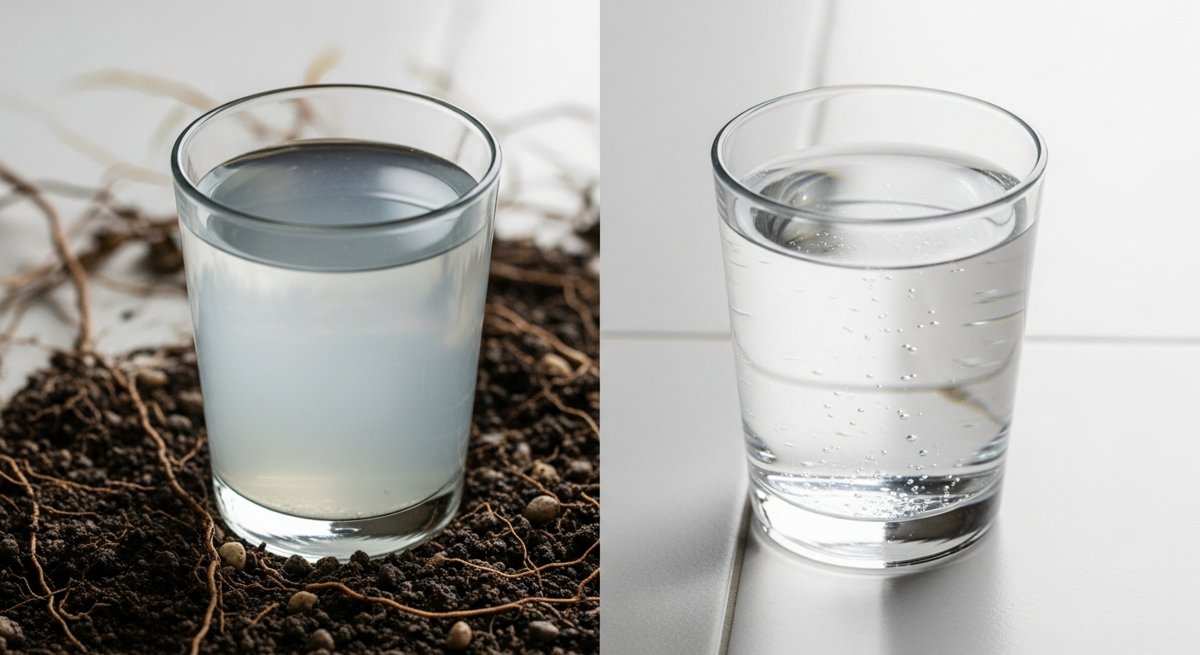
Well Water vs City Water: Testing, Treatment, and the Real Costs

Most people never actually choose between well water and city water. You buy a house, and whatever pipe was already in the ground becomes your water for the next 20 years. You don’t think about it again until the coffee tastes like a swimming pool, the shower glass fogs up with white crust, or the kid’s bathwater comes out faintly orange.

Here’s the thing nobody tells you: both kinds of water need attention. City water isn’t automatically clean, and well water isn’t automatically poison. The difference is who’s responsible — and once you’re on a well, that’s you. So let’s break down what each one actually is, what to test for, and what it really costs to make either one safe to drink. No fear-mongering, no $8,000 sales pitch from a guy in a polo shirt. Just the real picture.

The Core Difference: Who’s the Utility?

City water is treated by a municipal plant, disinfected (usually with chlorine or chloramine), and tested constantly to meet EPA standards before it leaves the plant. The catch: it then travels miles of old pipe — sometimes lead, sometimes cast iron from the 1950s — including the service line running into your house. So your tap water can be worse than what left the plant.

Well water gets zero treatment unless you do it. You are the utility. No one is monitoring it, no one is sending you a quality report, and no one is going to call you when the nitrates climb after a wet spring spreads fertilizer runoff into the aquifer. The upside? No monthly bill and no chemicals you didn’t put there yourself. The downside is the entire rest of this article.

Step One — and It’s Non-Negotiable: Test the Water

You cannot treat what you haven’t measured. This is the single most-skipped step and the one that actually matters. Whether you’re on a well or city, you start with a test.

The cheap home-strip route: A kit like the Health Metric Drinking Water Test Kit runs about $25 and screens for bacteria, lead, pesticides, nitrates, hardness, chlorine, and pH in a few minutes. It’s not lab-grade, but it tells you whether you have a problem worth chasing.

The do-it-right route: Mail a sample to a certified lab. SimpleLab’s Tap Score ($150–$300 depending on panel) sends you a bottle, you ship it back, and you get a real report telling you exactly what’s in your water in parts-per-billion — plus what each contaminant means and how to fix it. For a well, this is worth every penny. Do it once at purchase, then re-test annually (bacteria + nitrates at minimum).

The everyday gauge: A pocket HM Digital TDS-3 meter ($15) reads total dissolved solids instantly. It won’t tell you what’s in the water, but it’s a great way to spot a sudden change and to confirm a filter is actually doing something.

My honest opinion: if you’re on a well and you’ve never sent a real lab sample, stop reading and order one today. I’ve watched people spend thousands on a softener their water didn’t need while ignoring a coliform problem that actually could’ve made them sick. Test first. Always.

City Water: What You’re Actually Dealing With

If you’re on municipal water, your problems are usually narrow and cheap to solve:

  • Chlorine / chloramine taste and smell. A simple activated-carbon filter handles this — a pitcher, a fridge line, or an under-sink unit.
  • Lead from your own plumbing. Common in homes built before 1986. This is the real risk, and it requires a filter certified to NSF/ANSI 53 for lead — not just any carbon block.
  • Hardness. Some cities deliver genuinely hard water. White scale on faucets, spots on glasses, soap that won’t lather.

For most city dwellers, a good under-sink reverse-osmosis unit like the APEC ROES-50 (~$200) at the kitchen tap plus a carbon shower filter covers 90% of complaints. You don’t need to treat your whole house to get clean drinking water.

Well Water: You Are the Treatment Plant

Well water issues run deeper and depend heavily on your geology. The usual suspects:

  • Sediment / sand — grit from the aquifer. First thing every well setup needs to knock out.
  • Hardness (calcium & magnesium) — scale in pipes and water heaters, the #1 reason wells get a softener.
  • Iron & manganese — orange/brown staining on fixtures and laundry.
  • Sulfur — the dreaded rotten-egg smell.
  • Bacteria (coliform/E. coli) — the one that can actually hurt you. Killed with UV or chlorination.
  • Nitrates & pH — runoff and acidity, both common in rural ag country.

A typical well treatment train, in order of water flow: sediment filter → softener (or iron filter) → UV sterilizer → carbon → optional RO at the kitchen. You don’t necessarily need all of it — your lab report tells you which stages to build.

Real gear, real numbers:

  • Whole-house sediment + carbon: an iSpring WGB22B 2-stage runs ~$160 and handles grit and chlorine/taste for the whole house.
  • Water softener: a Whirlpool WHES40E is ~$600–700 and tames hardness for a typical 1–6 person home.
  • UV sterilizer: a VIQUA point-of-entry UV system (~$400–600) kills bacteria without chemicals — essential if your test shows coliform.

The Real Cost Comparison

Everyone asks “which is cheaper?” The answer is: it depends on your time horizon.

Cost City Water Well Water
Upfront $0 (connection exists) $5,000–$15,000 to drill
Monthly bill $40–$80 $0 (just pump electricity, ~$3–5)
Treatment $200 RO + filters $1,000–$2,500 full train
Ongoing Filter cartridges ~$60/yr Salt, filters, UV lamp, pump service ~$200–400/yr

A well costs a fortune up front and then is nearly free to run. City water is free to start and bleeds you slowly. Over 20 years on a property, a paid-off well usually wins — but only if you stay on top of maintenance. Neglect it and a failed pump or a contaminated casing can cost more than a decade of city bills in one weekend.

The Takeaway

Self-sufficiency isn’t about which pipe you have — it’s about knowing what’s in your water and being able to fix it yourself. The person on city water who’s never tested for lead is more exposed than the well owner who tests annually and runs a proper treatment train.

Your challenge this week: Find out what you’re actually drinking. If you’re on city water, look up your municipality’s annual Consumer Confidence Report (it’s free and public — Google “[your city] CCR water”) and grab a $25 home test for lead. If you’re on a well, order a real lab kit and put “re-test water” on your calendar as a recurring annual reminder.

Twenty-five bucks and twenty minutes. That’s the whole cost of knowing — instead of guessing — what comes out of your tap. Do it this weekend.
How to Build a Gravity-Fed Water System on Your Property (No Pump, No Power)

Water is the single most important resource on any property. You can go weeks without food. You’ll last about three days without water. And yet most people with land — even people who consider themselves “prepared” — are completely dependent on a municipal supply or an electric well pump to get it.

Here’s the thing: gravity doesn’t need electricity. It doesn’t break down. It doesn’t care about grid outages, fuel shortages, or supply chain problems. A gravity-fed water system is one of the simplest, most reliable pieces of infrastructure you can build on your property — and most people never even consider it.

Let’s fix that.

What Is a Gravity-Fed Water System?

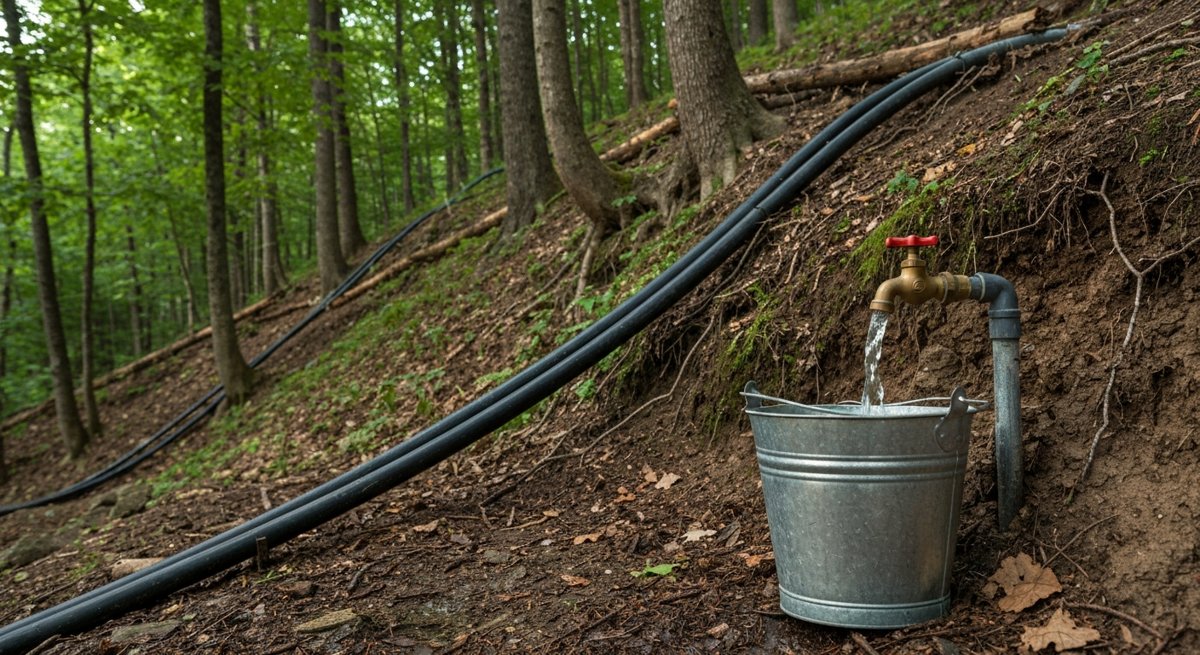
Dead simple concept: you put water storage above where you need the water, and gravity does the work of delivering it. No pump. No power. No moving parts. Water flows downhill through pipes to your garden, livestock troughs, outdoor sinks, or even an off-grid cabin.

For every 1 foot of elevation (called “head”), you get roughly 0.43 PSI of water pressure. So a tank sitting 10 feet above your delivery point gives you about 4.3 PSI. That’s not going to run a shower with great pressure, but it’s more than enough to fill troughs, drip-irrigate a garden, or provide a hand-wash station.

Put that tank 25 feet up? Now you’re at ~10.8 PSI — enough for a basic outdoor shower or a cabin sink with a low-flow faucet.

What You Need (The Short List)

This isn’t a $5,000 project. For a basic system, you’re looking at:

  • A water storage tank — 250 to 550 gallons is the sweet spot for most homesteads. IBC totes (those white cubes in metal cages) are cheap, widely available, and stack well. You can often find them for $50-$100 used.
  • An elevated platform — A hillside is ideal. No hill? Build a simple platform from treated lumber, concrete blocks, or even a repurposed trailer. You need at least 6-8 feet of elevation for usable pressure.
  • Polyethylene pipe — ¾” poly pipe is cheap, flexible, and easy to work with. For longer runs (over 100 feet), step up to 1″ to reduce friction loss.
  • A ball valve — At the tank outlet. Lets you shut off flow for maintenance.
  • A basic sediment filter — If your source is rainwater or surface water, a simple inline filter keeps debris out of your lines.
  • Hose barb fittings and clamps — To connect everything. That’s it.

Total cost for a basic system: $150-$400. Compare that to drilling a well ($5,000-$15,000) or installing a solar pump setup ($1,000+).

Step-by-Step: Building Your First System

Step 1: Find Your High Point

Walk your property. Look for natural elevation — a hillside, a berm, even the back of a sloped barn roof. The higher you can get your tank relative to where you need water, the more pressure you’ll have. If your land is flat, you’re building a stand. A simple 8-foot platform made from 4×4 posts and 2×6 joists will hold a 550-gallon IBC tote (about 4,600 lbs full). If you’re going this route, over-engineer the platform. Water is 8.34 lbs per gallon and it doesn’t forgive a wobbly structure.

Step 2: Set Up Your Tank

Place your tank on the platform or high ground. IBC totes come with a 2″ ball valve at the bottom — that’s your outlet. If you’re using a poly tank or barrel, you’ll need to install a bulkhead fitting near the bottom. Pro tip: Don’t put the outlet at the very bottom. Set it 2-3 inches above the floor of the tank. This lets sediment settle below the outlet instead of flowing into your lines.

Step 3: Run Your Lines

Connect ¾” or 1″ poly pipe from the tank outlet to where you need water. A few rules:

  • Avoid uphill runs. Every foot of uphill in your line eats into your pressure. If you have to go over a small rise, keep it as low as possible.
  • Minimize sharp bends. Use sweeping curves instead of 90-degree elbows. Each sharp bend adds friction loss.
  • Bury it if you can. Even 6 inches underground protects against UV degradation, freezing (in mild climates), and physical damage. In colder climates, bury below frost line or drain the system before winter.
  • Add a shutoff valve at each delivery point. A $4 ball valve means you can isolate sections without draining the whole system.

Step 4: Connect Your Source

How does the tank get filled? Several options:

  • Rainwater collection — Gutters from a roof into the tank. A 1,000 sq ft roof in an area that gets 30 inches of rain per year captures roughly 18,700 gallons annually. That’s real water.
  • Manual fill — Haul water from a well, creek, or municipal source and dump it in. Not glamorous, but it works.
  • Spring or creek diversion — If you have a natural water source uphill from your tank, pipe it in. Free water, forever. (Check local water rights laws before tapping natural sources.)
  • Well with solar pump — Pump water into the elevated tank when the sun shines, then gravity delivers it 24/7. The tank becomes your “battery.”

Step 5: Filter If Needed

For garden irrigation and livestock, you generally don’t need more than a basic sediment filter to keep debris out of your lines. For drinking water, you’ll need a proper multi-stage filter (sediment + carbon + UV or ceramic). Don’t cut corners on drinking water filtration. A good gravity-fed drinking filter like a Berkey-style system can sit at the end of your line and handle this.

Common Mistakes to Avoid

  • Undersizing the pipe. ½” pipe seems cheaper but the friction loss over distance kills your flow rate. ¾” minimum, 1″ for runs over 100 feet.
  • Not accounting for winter. Water expands when it freezes. If you’re in a freeze zone, install drain valves at low points and drain the system before hard frost. Or insulate and heat-tape exposed sections.
  • Using clear or translucent tanks. Sunlight + water = algae. Use opaque tanks (black or dark green) or paint/wrap translucent ones.
  • Forgetting the overflow. Your tank needs an overflow outlet near the top. Rain doesn’t stop because your tank is full. Direct overflow away from your platform’s foundation.
  • Ignoring the first flush. If you’re collecting rainwater off a roof, the first few gallons of every rain event carry bird droppings, dust, and debris. A simple first-flush diverter (a capped pipe that fills and diverts the first wash before water flows to your tank) makes a big difference in water quality.

Why This Matters More Than You Think

Here’s my honest take: a gravity-fed water system is one of the highest-return projects you can do on a homestead, and it’s almost criminally overlooked. People will spend thousands on solar panels, backup generators, and freeze-dried food — all good things — but ignore the one resource they literally cannot live without for more than 72 hours.

A gravity system gives you water independence from the grid. It works during power outages. It waters your garden without electricity. It keeps your animals alive when the pump goes down. And it does all of this passively, silently, and indefinitely — because gravity never quits.

Even if you’re on municipal water and have no plans to go off-grid, having 500 gallons of water stored in an elevated tank with a gravity delivery system is one of the smartest insurance policies you can build. The cost is trivial. The peace of mind is enormous.

Your Challenge This Weekend

Walk your property. Identify three things:

  1. The highest natural point on your land
  2. Where you actually need water delivered (garden, barn, outdoor kitchen, etc.)
  3. The rough vertical distance between those two points

That’s your system blueprint. Multiply the vertical distance by 0.43 — that’s your pressure in PSI. If it’s over 3 PSI, you’ve got a workable gravity system waiting to be built. If it’s under that, you’re building a platform. Either way, you’re closer to water independence than you were five minutes ago.

Stop depending on systems you don’t control. Start building ones you do.

A gravity-fed line is one piece of water independence. The Self-Sufficient Backyard covers how it fits with catchment, storage, and filtration into a system you fully control.