Here’s a stat that should make you uncomfortable: the FBI estimates that 34% of burglars enter through the front door. Not a window. Not a side entrance. The front door — the one you lock every night and assume is doing its job.
The problem isn’t your lock. It’s the frame. Most residential door frames are held together by 3/4-inch screws driven into soft pine trim. One solid kick — sometimes less — and the whole thing splits like firewood. Your deadbolt is still locked. It’s just lying on the floor with a chunk of wood attached to it.
The good news? Fixing this is absurdly cheap, takes about an hour, and requires nothing more than a drill and a screwdriver. This is hands-down the highest-impact home security upgrade you can make this weekend.
Why Your Door Frame Is the Weak Link
Builders don’t frame doors for security. They frame them for cost and speed. The typical interior and exterior door frame setup uses:
- Short screws (3/4″ to 1″) that only bite into the soft door jamb trim — not the structural framing behind it
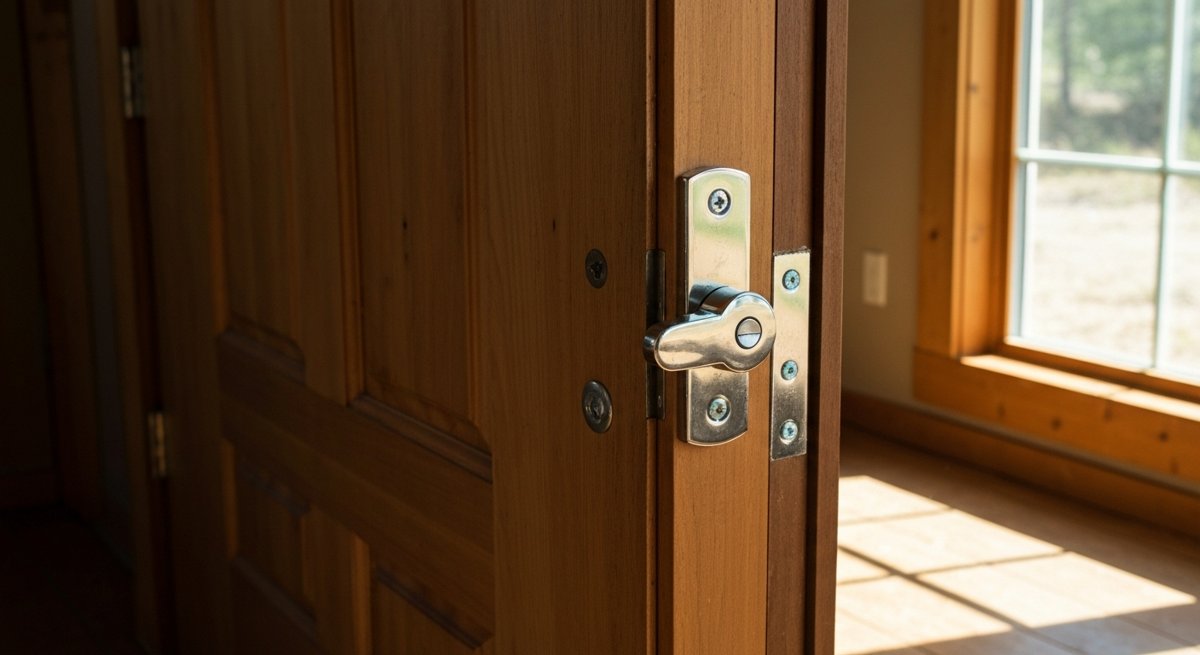
- A tiny strike plate held by two small screws — the little metal rectangle where your deadbolt tongue goes
- No reinforcement around the hinge side, which is just as vulnerable to forced entry
When someone kicks a door, the force concentrates on the strike plate area. Those short screws rip out of the trim instantly. It doesn’t matter if you have a $200 smart lock — the frame gives up before the lock does.
The Fix: A Door Reinforcement Kit (Under $30)
What you need is a door jamb reinforcement kit. Several companies make them — Door Armor, StrikeMaster, EverJamb — and they all work on the same principle: replace the weak points with heavy-gauge steel plates secured by 3.5-inch screws that anchor into the wall studs.
A typical kit includes three components:
- A full-length strike plate — Instead of that little 1×3-inch plate, you get a steel plate that runs 36-48 inches along the door jamb. It distributes kick force across a much larger area and is held by multiple 3.5″ screws sunk into the stud.
- Hinge reinforcement plates — Steel plates that sit behind your existing hinges, again anchored with long screws into the stud. This prevents the door from being pried from the hinge side.
- A door edge shield — Some kits include a steel wrap for the door edge itself around the deadbolt area, preventing the door from splitting at the bolt.
Total cost: $25-$45 depending on the kit. Total install time: 45 minutes to an hour if you take your time.
Step-by-Step Install
Tools you need: drill/driver, a #2 Phillips or square bit (usually included), a pencil, and maybe a chisel if you’re fitting a recessed plate.
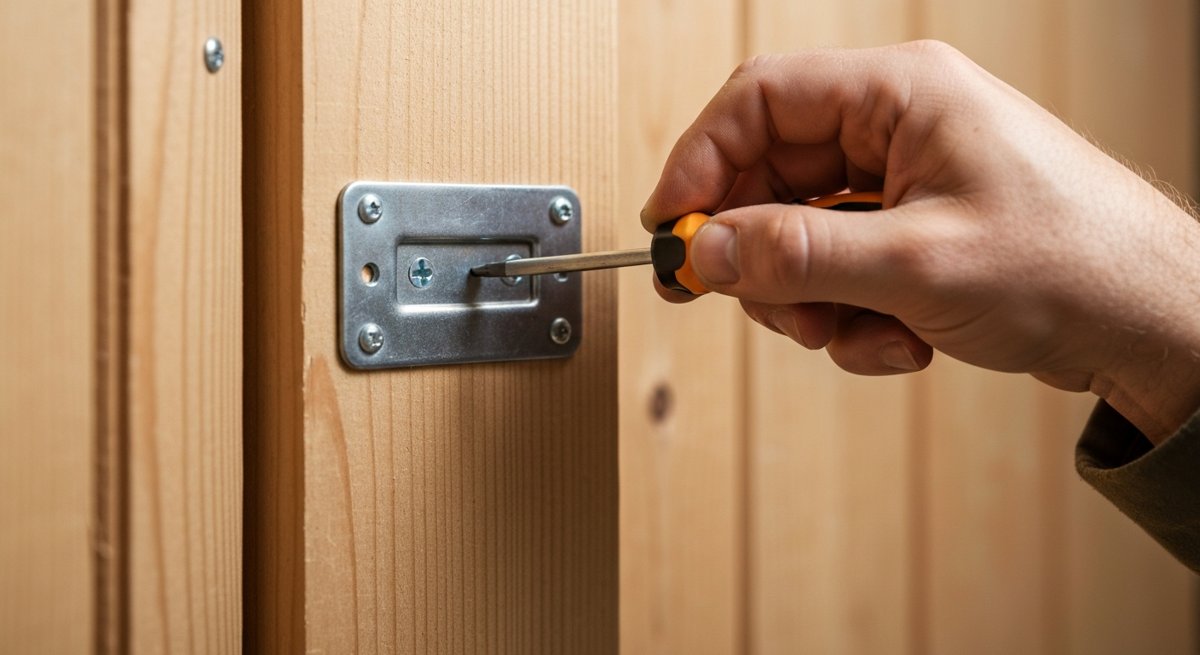
Step 1: Replace the Strike Plate
Remove your existing strike plate (the two screws next to the deadbolt hole in the frame). Hold the new reinforcement plate in position — it should center over the deadbolt and knob holes. Mark your screw holes with a pencil. Pre-drill pilot holes using a 1/8″ bit, going at least 3 inches deep. Drive the 3.5″ screws in until snug. Don’t overtighten — you want firm contact, not crushed wood.
Step 2: Reinforce the Hinges
Remove one hinge at a time (don’t take them all off — your door will fall). Pull the short screws and replace them with the 3.5″ screws from the kit. If your kit includes hinge shield plates, slide them behind the hinge before re-securing. Do this for all three hinges (or however many you have).
Step 3: Install the Door Edge Shield (If Included)
This is a U-shaped steel channel that wraps around the edge of the door where the deadbolt passes through. It prevents the wood from splitting if someone tries to spread the frame apart. Slide it over the edge, mark, drill, and screw it in place.
Step 4: Test Everything
Close the door. Lock and unlock the deadbolt. Make sure nothing binds or rubs. If the deadbolt is tight, you may need to slightly adjust the plate position or enlarge the bolt pocket with a chisel. Close, lock, and shoulder-check the door gently — it should feel noticeably more solid.
Don’t Forget Your Other Entry Points
Once the front door is hardened, walk your property and think about these:
- Back door and side doors: Same reinforcement kit treatment. Every exterior door gets one.
- Garage entry door: This is the one people forget. The door from your garage into your house is often a hollow-core interior door with a basic knob lock. If someone gets into your garage (opener cloned, side door forced), they’re walking through this door without even trying. Replace it with a solid-core door and deadbolt, then reinforce the frame.
- Sliding glass doors: A reinforcement kit won’t help here, but a simple security bar (the rod that sits in the track) is cheap insurance. You can also install a secondary lock that pins the door to the frame.
The Layered Thinking
Door reinforcement isn’t a silver bullet. Nothing is. But it fits into what security professionals call defense in depth — layers that each buy you time and deter a different threat level.
- Layer 1 — Deterrence: Lighting, visible cameras, signs, maintained property (signals someone is home and paying attention)
- Layer 2 — Delay: Reinforced doors, quality locks, window security film, thorny landscaping under windows
- Layer 3 — Detection: Alarm system, motion sensors, dogs, alert neighbors
- Layer 4 — Response: Your plan for what happens when layers 1-3 fail
Door reinforcement lives in Layer 2. Its job is to make forced entry take longer and make more noise — long enough for detection systems to trigger and for you to respond. A reinforced door doesn’t have to be impenetrable. It just has to be harder than the next house.
My Honest Take
I think most people drastically overspend on cameras and smart home gadgets while ignoring the physical basics. A $300 Ring setup watching your front door doesn’t stop anyone from kicking it in — it just gives you a nice video of it happening. Meanwhile, $30 of steel and long screws would have actually prevented the entry.
Cameras are great for Layer 1 (deterrence) and Layer 3 (detection). But if you haven’t addressed Layer 2 first, you’ve built a very expensive notification system for a problem you could have physically prevented.
Start with the physical. Reinforce your doors. Then add the tech on top.
Your Weekend Challenge
Do this before Sunday night:
- Walk to your front door. Look at the strike plate. Count the screws and estimate their length.
- Open the door and look at the hinge screws. Are they short brass/gold screws? Those are the builder-grade ones.
- Go to your hardware store or order a door reinforcement kit online. Budget: $25-$45.
- Install it. One hour. One drill. Done.
- Then do the same for every exterior door in your house, including the one from the garage.
Bottom line: Your front door is probably held together by hope and half-inch screws. For less than the cost of a pizza, you can make it genuinely resistant to forced entry. That’s not prepper fantasy — that’s just smart homeownership.