Most break-ins don’t involve sophisticated lock picks or Hollywood-style alarm bypasses. They involve a boot to a hollow-core door, a pry bar on a cheap strike plate, or a slider lifted off its track. The average residential burglary takes under 60 seconds from entry to inside.
The good news? You can dramatically increase your home’s resistance to forced entry in a single weekend with about $150 in hardware store materials and zero specialized skills. No contractor. No permit. No excuse.
Here’s the room-by-room, door-by-door playbook.
Why Entry Point Hardening Matters More Than Alarms
Alarms are reactive. They tell you (or a monitoring center) that someone already got in. Entry point hardening is preventive — it makes getting in harder, slower, and louder. Most burglars operate on opportunity. If your door takes 30 seconds of noise and effort instead of 2 seconds, they move on. Period.
I’m not saying ditch your alarm system. I’m saying that if you have a $40/month monitoring service but your front door has the original builder-grade strike plate with half-inch screws, you’ve got your priorities backwards.
Step 1: The Front Door — Your Biggest Vulnerability
Your front door is the #1 point of forced entry in residential break-ins. Here’s exactly what to fix:
Replace the Strike Plate
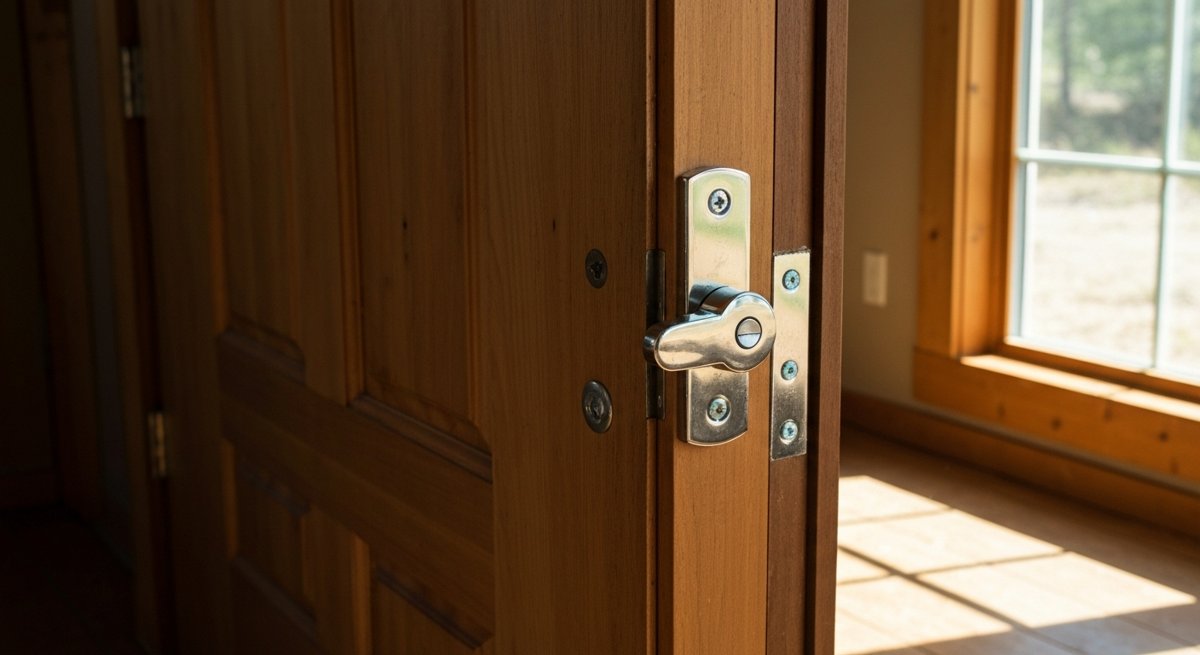
The strike plate is the small metal piece on your door frame where the deadbolt and latch engage. Most builder-installed strike plates are held by two 3/4-inch screws that only bite into the soft door jamb — not the structural framing behind it.
- Buy a heavy-duty strike plate (sometimes called a “security strike plate” or “box strike”). Brands like Door Armor, StrikeMaster, or even the generic heavy-duty ones at your local hardware store work fine.
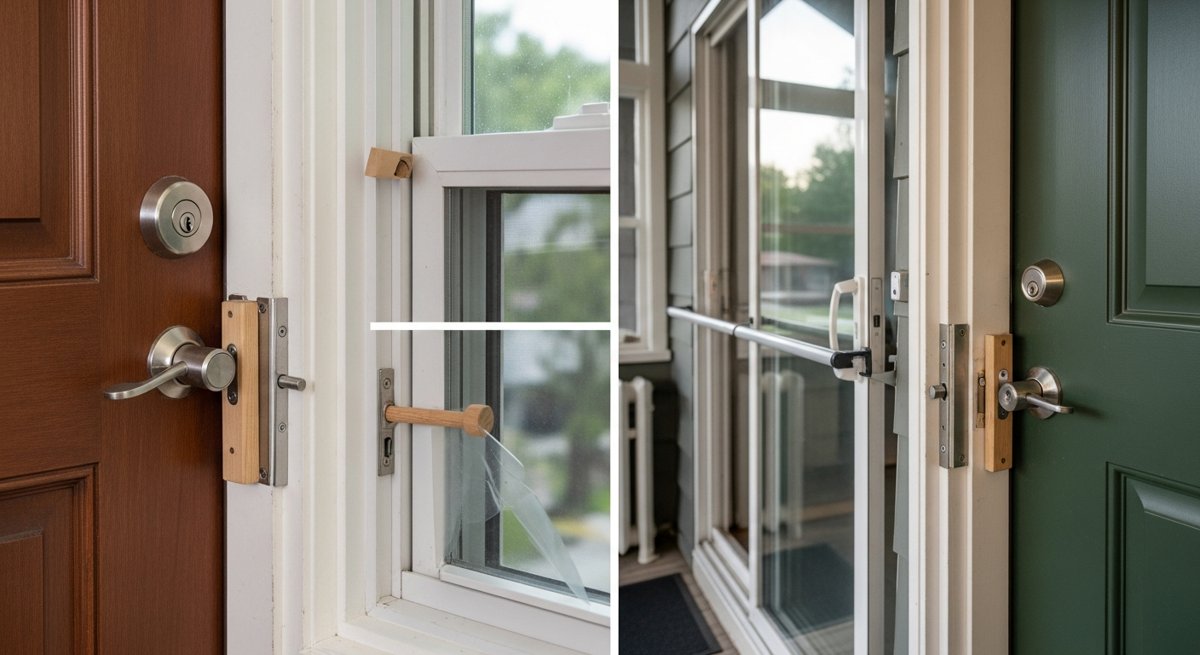
- Install it with 3-inch screws. This is the single most important upgrade. Three-inch screws go through the jamb and into the structural stud behind it. A door held by 3/4-inch screws can be kicked in with one solid hit. A door anchored to the stud takes multiple hits and makes a ton of noise.
- Time: 15 minutes. Cost: $10-25.
Upgrade the Hinges
While you’ve got the drill out, replace the hinge screws too. Same principle — pull out the short screws, put in 3-inch ones. At least one screw per hinge should anchor into the stud. This prevents the hinge side from being pried or kicked in.
Check Your Deadbolt Throw
Lock your deadbolt and look at how far the bolt extends into the frame. It should be at least one full inch. If it’s less, replace the deadbolt. A Grade 2 deadbolt is fine for most homes — Grade 1 if you want the best. Skip the smart locks that sacrifice bolt throw for convenience.
The Door Itself
If your front door is a hollow-core interior door (yes, some builders do this), no amount of hardware will save you. Knock on it. If it sounds hollow, you need a solid-core wood or steel door. That’s a bigger project, but it’s non-negotiable for security. A steel door in a reinforced frame is extremely difficult to breach without power tools.
Step 2: Sliding Glass Doors — The Overlooked Weak Point
Sliding doors are easy to breach because many can simply be lifted off their tracks from the outside. Here’s how to fix that:
- Install anti-lift pins. Drill a small angled hole through the inside frame where the door overlaps when closed, and drop in a pin or nail. This prevents the door from being lifted. You can buy purpose-built security pins, or a 16d nail works just fine.
- Use a security bar or dowel. A cut-to-length wooden dowel or a Charlie bar in the track prevents the door from being slid open even if the latch is defeated. Adjust the length so it fits snugly.
- Install a secondary foot lock. These bolt into the track and flip up to block the door. Cheap insurance — about $8.
Time for all three: 30 minutes. Cost: under $20.
Step 3: Windows — Simple Fixes, Big Impact
Most windows aren’t forced open — they’re found unlocked. But for ground-floor and basement windows that are locked, here’s what to do:
- Pin your windows. For double-hung windows, drill a small downward-angled hole through the inner sash into the outer sash where they overlap when closed. Insert a nail or eye bolt. The window can’t be opened from outside even if the latch is flipped. Drill a second hole with the window cracked 4 inches for ventilation with security.
- Apply security film. Window security film (3M, BDF, or similar) won’t stop a determined intruder, but it holds shattered glass together, turning a quick “smash and reach in” into a loud, time-consuming mess. Apply it to ground-floor windows, especially any near door locks.
- Don’t forget basement windows. Window well covers and interior-mounted security bars or grates make basement windows nearly impossible to use as entry points. If you go with bars, make sure they have a quick-release interior latch for fire egress.
Step 4: The Garage — Your Biggest Blind Spot
If your garage has an entry door into your house, treat it exactly like your front door — heavy-duty strike plate, 3-inch screws, solid deadbolt. Most people don’t, because it “feels” like an interior door. It’s not. It’s a perimeter door with a giant, motor-operated window next to it.
- Disable the emergency release. That red cord hanging from your garage door opener? An intruder can trip it from outside with a coat hanger and a 6-inch gap at the top of the door. Either zip-tie the release mechanism so it can’t be triggered remotely, or install a garage door defender shield over it. There are YouTube tutorials for your exact opener model.
- Add a manual lock or slide bolt to the garage door tracks for when you’re home or away for extended periods.
- Keep the interior garage door locked — always, not just when you’re away. This is the most commonly neglected rule in home security.
Step 5: Your Weekend Checklist
Print this. Walk your house. Check everything off.
| Entry Point | Fix | Cost | Time |
| Front door | Strike plate + 3″ screws + hinge screws | $15-30 | 20 min |
| Back door | Same as front door | $15-30 | 20 min |
| Sliding doors | Anti-lift pins + bar + foot lock | $15-20 | 30 min |
| Ground-floor windows | Pin + security film | $40-60 | 1-2 hrs |
| Garage (interior door) | Strike plate + deadbolt + emergency release fix | $25-40 | 30 min |
| Basement windows | Well covers + security bars (with egress release) | $30-50 | 30 min |
Total estimated cost: $100-200. Total time: a relaxed Saturday afternoon.
The Honest Take
Home security is one of those things people overthink and underspend on. They’ll drop $300 on a Ring doorbell and leave the strike plate held in by screws shorter than a toothpick. The camera will give you great footage of someone kicking your door in. The $15 strike plate upgrade would have stopped them.
Cameras and alarms have their place. But physical hardening is the foundation. Without it, everything else is just surveillance of your own break-in.
Your Challenge
This weekend, walk every exterior entry point in your home. Every door, every window, every sliding door, the garage. Knock on each door — solid or hollow? Check the screws in every strike plate — short or long? Try to wiggle your sliding door up off its track. Check if your garage emergency release can be fished from outside.
Then go to the hardware store and fix the weakest link. Just one. That single upgrade puts you ahead of 90% of homes on your street.
Stay sharp. Stay prepared. Security isn’t about paranoia — it’s about making smart, small investments that buy you time, options, and peace of mind. And unlike that gym membership you’re not using, this one actually works the first day you install it.