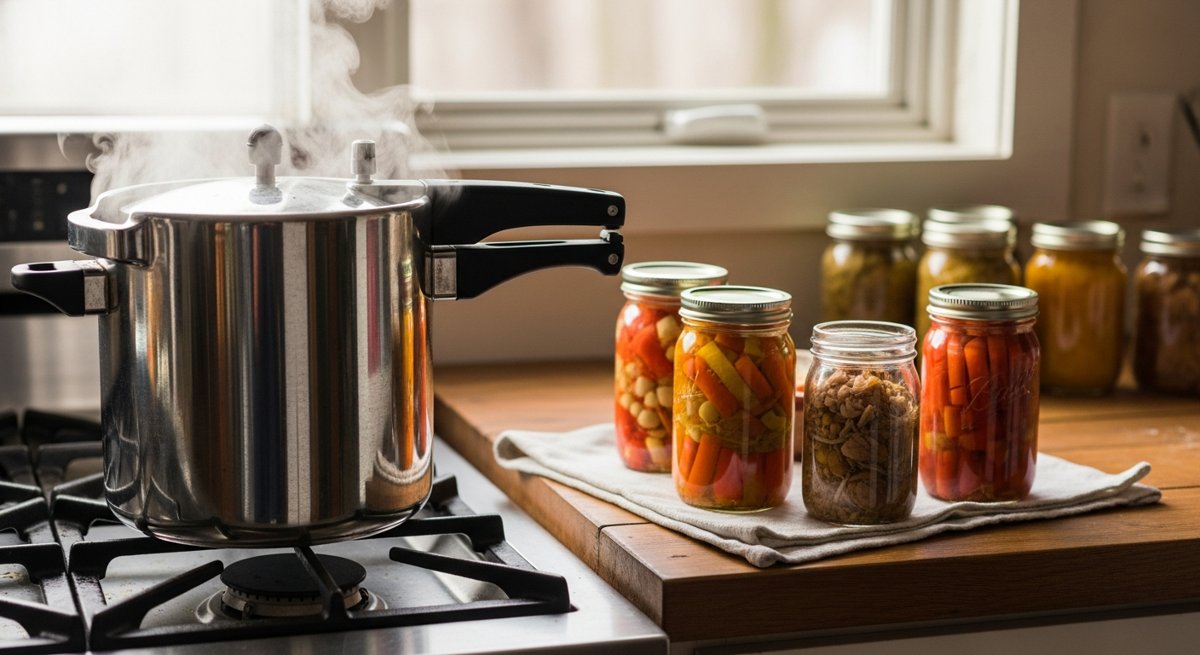
How to Pressure Can Meat, Broth, and Vegetables Safely (Without Poisoning Your Family)

A full pantry of home-canned meat, broth, and vegetables is the single most underrated win in self-sufficiency. It’s shelf-stable for years, needs zero electricity, and costs a fraction of store-bought. But here’s the part nobody softens for you: pressure canning low-acid food the wrong way can kill you. Not “upset stomach” kill you — botulism, the real thing. So we’re going to do this right, the first time, every time.

The one rule that keeps you alive: Meat, broth, beans, and vegetables are low-acid foods. A boiling water bath only hits 212°F — not hot enough to kill Clostridium botulinum spores. You need 240°F, and the only way to get there is under pressure. Low-acid food = pressure canner. No exceptions. Ever.

Why Pressure, Not Just Heat

Botulism spores are tough little bastards. They shrug off boiling water all day. What kills them is sustained heat at 240°F or higher, and water simply can’t get that hot at sea level no matter how long you boil it. Lock that water under 10–15 pounds of steam pressure, though, and the boiling point climbs to 240°F+. That’s the whole game. Pickles, jams, and tomatoes with added acid can go in a water bath because acid does the safety work. Plain meat and green beans cannot. Memorize the line: if it’s not acidic, it gets pressurized.

The Gear You Actually Need

  • A real pressure canner. Not a pressure cooker — a canner, big enough to hold jars upright with a rack. The Presto 23-Quart and the All American 921 (no-gasket, metal-to-metal seal) are the two workhorses people pass down to their kids.
  • Canning jars — genuine Ball or Kerr Mason jars, pints and quarts. Never reuse mayo or pickle jars; they aren’t rated for the pressure and will shatter.
  • New lids every time. The flat lids are single-use. Bands are reusable; lids are not. This is non-negotiable for a good seal.
  • A jar lifter, canning funnel, and a bubble remover/headspace tool. Ten bucks of tools that save you scalded fingers and bad seals.

Dial Gauge vs. Weighted Gauge

Two kinds of canners. A weighted-gauge model rocks or jiggles a weight to hold a set pressure (5, 10, or 15 lbs) — dead simple, never needs calibration, you can hear it working from another room. A dial-gauge model shows exact pressure on a needle, which lets you fine-tune for altitude, but the gauge must be tested for accuracy once a year (your county extension office does this free). If you’re new and want one less thing to screw up, get weighted. If you’re at high altitude and want precision, dial-gauge earns its keep.

Step-by-Step: Raw-Pack Meat (The Easiest Win)

Beef, venison, pork, chicken — raw pack is the lazy genius method. No pre-cooking.

  1. Prep jars. Wash jars in hot soapy water, keep them warm. Cut meat into chunks, trim heavy fat (fat fights a good seal).
  2. Pack. Fill warm jars with raw meat, leaving a full 1 inch of headspace. Add 1/2 tsp salt per pint if you like — it’s for flavor, not safety. Do not add liquid; raw-packed meat makes its own.
  3. De-bubble and clean. Run your bubble tool around the inside, re-check headspace, then wipe every rim with a clean, damp cloth. A single grease smear ruins the seal.
  4. Lid up. Center a new flat lid, screw the band to fingertip tight — snug, not cranked.
  5. Load and vent. Set jars on the rack with 2–3 inches of water in the canner. Lock the lid, bring to a boil, and let steam vent steadily for a full 10 minutes before you add the weight. Skipping the vent traps air and gives you false pressure readings.
  6. Pressurize and process. Add the weight, bring to 10 lbs (weighted) or 11 lbs (dial) at sea level. Once you hit pressure, start the timer: pints process 75 minutes, quarts 90 minutes. Hold that pressure the entire time — if it dips, you restart the clock.
  7. Cool naturally. Kill the heat and walk away. Let the canner depressurize on its own — never run it under cold water or pry the weight off early, or you’ll force-boil liquid out of the jars and break seals.
  8. Rest and check. Lift jars out, set on a towel, don’t touch for 12–24 hours. You’ll hear the lids ping. The next day, press the center of each lid: no flex, no pop = sealed. Any that didn’t seal go straight in the fridge to eat this week.

Processing Times Cheat Sheet

At 10 lbs weighted / 11 lbs dial, sea level. These are starting points — always confirm against a tested recipe (USDA Complete Guide to Home Canning or the Ball Blue Book) before you process.

  • Meat (raw or hot pack): pints 75 min · quarts 90 min
  • Bone broth / stock: pints 20 min · quarts 25 min
  • Green beans: pints 20 min · quarts 25 min
  • Carrots: pints 25 min · quarts 30 min
  • Sweet corn (whole kernel): pints 55 min · quarts 85 min
  • Dry beans (soaked, hot pack): pints 75 min · quarts 90 min

Altitude matters — a lot. Every time you climb, water boils cooler, so you must add pressure. Above 1,000 ft, weighted canners go to 15 lbs. Dial canners step up gradually (12 lbs at 2,001–4,000 ft, 13 lbs at 4,001–6,000 ft, and so on). Look up your elevation before your first batch. This isn’t optional — it’s the difference between safe food and a gamble.

What You Should NOT Can

There are no tested-safe times for these, which means there’s no safe way to do them at home. Skip them, full stop:

  • Dairy — milk, butter, cheese, cream
  • Anything thickened with flour or cornstarch (it insulates the center from heat)
  • Pureed or mashed pumpkin/winter squash (can cubes instead)
  • Refried or mashed beans (can them whole, mash when you open the jar)
  • Rice, pasta, or other grains in the jar

My honest take: the people who get hurt aren’t the careful beginners — they’re the confident folks who “tweak” a recipe or trust a thirdhand method from a forum. Don’t freelance the science. Follow tested times, respect your altitude, and pressure canning is genuinely one of the safest, most satisfying skills you can own.

Want the whole self-reliant pantry blueprint?

Canning is one piece of a bigger system — food, water, power, and a backyard that feeds you. The Self-Sufficient Backyard walks you through building it on a normal lot, including a deeper food-preservation playbook than I can fit in one post. It’s the resource I point people to when they’re ready to go past “dabbling.”

Your Challenge This Week

Don’t try to can the whole garden on day one. Do one batch: seven pints of beef or a load of homemade broth. Get the rhythm — pack, vent, pressurize, cool, check seals. Once you’ve heard that first row of lids ping on the counter and you’re holding jars of food you’ll still be eating next winter, you’ll get it. That pantry shelf is independence you can see. Go fill it.
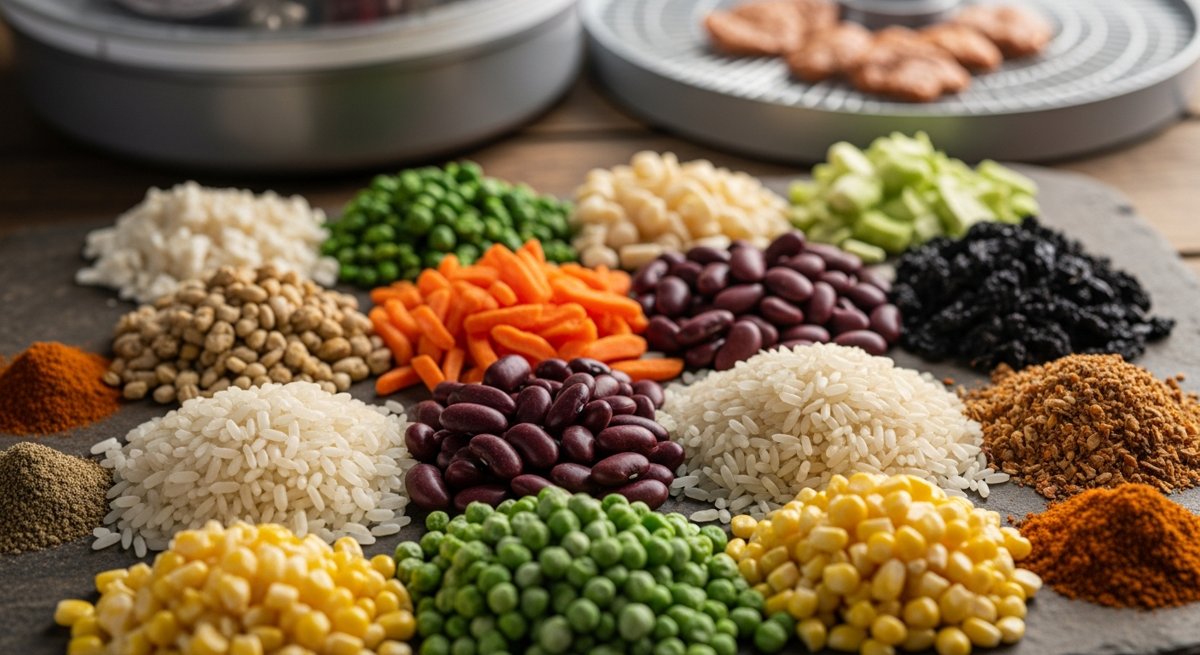
How to Dehydrate Your Own Backpacking Meals (And Stop Paying $12 a Pouch)

Let’s talk about the dirty secret of the outdoor industry: freeze-dried backpacking meals are a racket.

A single pouch of brand-name trail food runs $10-14. For what? Rice, beans, some seasoning, and the water removed. You’re paying premium prices for ingredients that cost $1.50 at the grocery store — minus the moisture.

Here’s the thing: you can dehydrate your own meals at home for a fraction of the cost, control exactly what goes in them, and end up with food that actually tastes like something you’d choose to eat. Not “acceptable because I’m tired and hungry” — genuinely good.

I’m going to walk you through the entire process. By the end of this, you’ll have the knowledge to build a full trip’s worth of custom trail meals for about $2-3 each.

What You Need (And What You Don’t)

You need a food dehydrator. That’s it for specialized equipment. You don’t need a freeze-dryer ($2,000+), you don’t need vacuum sealers (nice to have, not required), and you don’t need any special training.

The dehydrator: A basic stackable unit (Nesco or equivalent) runs $50-80 and handles everything I’m about to describe. If you’re doing this regularly, a square-tray model with a rear-mounted fan gives more even drying and better capacity. But start with what’s affordable.

Storage: Ziplock bags work fine for meals you’ll eat within 2-3 weeks. For longer storage (months), use mylar bags with oxygen absorbers or vacuum seal them. Most home-dehydrated meals keep 3-6 months in a cool, dark pantry without any special packaging.

The Golden Rule: Cook First, Then Dehydrate

This is where most beginners go wrong. They try to dehydrate raw ingredients and wonder why their trail meals turn into crunchy disappointments that take 30 minutes to rehydrate.

The rule: fully cook your meal at home first, then dehydrate it.

When you cook first:

  • Rehydration takes 10-15 minutes instead of 30+
  • Texture stays close to the original meal
  • You can taste-test before committing to carrying it for three days
  • Food safety is handled — you’re not relying on trail conditions to cook meat through

The only exceptions: rice and pasta. These rehydrate well from their store-bought dried state. Just pre-cook them, spread thin on trays, and dehydrate. They’ll snap back to life with boiling water on trail.

5 Meals That Dehydrate Like a Dream

Not everything dehydrates well. High-fat foods go rancid. Dairy gets weird. Eggs are unpredictable. But these five are nearly foolproof:

1. Chili (The Gateway Meal)

If you’re dehydrating your first meal ever, make it chili. It’s forgiving, rehydrates perfectly, and tastes great on trail.

  • Use lean ground beef or turkey (90% lean minimum — fat doesn’t dehydrate)
  • Heavy on the beans, tomatoes, and spices
  • Spread 2-3 cups across a lined dehydrator tray
  • Dry at 145°F for 6-8 hours until crumbly and brittle
  • Rehydrate: add equal parts boiling water, wait 12 minutes

Trail tip: Pack a few individual hot sauce packets. Game changer.

2. Fried Rice

This one surprised me with how well it works. The soy sauce and sesame oil actually help with flavor retention.

  • Cook your fried rice as normal — scrambled egg, veggies, rice, soy sauce
  • Keep oil to a minimum (1 tsp for the whole batch)
  • Spread thin on trays, dry at 135°F for 8-10 hours
  • Should be completely hard and dry — no soft spots
  • Rehydrate: just-boiling water, 1:1 ratio, 15 minutes in a cozy

3. Black Bean Soup

Soups and stews are dehydrating’s sweet spot. Anything that’s already mostly liquid becomes incredibly lightweight once dried.

  • Blend about half the beans for a thick base, leave the rest whole
  • Season aggressively — cumin, chili powder, garlic, lime juice
  • Spread on lined trays (fruit leather sheets work great)
  • Dry at 145°F for 10-12 hours — it’ll form a leather that breaks into flakes
  • Rehydrate: 1.5x water ratio, 10 minutes

4. Pasta with Meat Sauce

  • Cook pasta al dente (it’ll soften more during rehydration)
  • Make your sauce lean — drain the meat well, use less oil than you normally would
  • Dehydrate the pasta and sauce separately (different dry times)
  • Pasta: 135°F, 6-8 hours. Sauce: 145°F, 8-10 hours.
  • Combine in your trail bag. Rehydrate together with boiling water, 15 min.

5. Coconut Curry Lentils

This is my personal favorite trail meal. Lentils are the perfect dehydration legume — small, uniform, rehydrate fast.

  • Red lentils + coconut milk (light, not full-fat) + curry paste + spinach
  • Cook until lentils are soft and it’s thick
  • Spread on lined trays, dry at 145°F for 10-12 hours
  • Breaks into flakes when done. Should snap, not bend.
  • Rehydrate: equal water, 12 minutes. Add a squeeze of lime if you packed one.

The Process (Step by Step)

  1. Cook your meal completely. Taste it. If it’s not good now, it won’t be good on trail.
  2. Spread thin. No more than ¼ inch on lined dehydrator trays. Thinner = faster = more even drying.
  3. Set temperature. 135-145°F for most meals. Higher isn’t faster — it just cases the outside while the inside stays moist.
  4. Rotate trays every 3-4 hours if your dehydrator doesn’t have a fan.
  5. Test for doneness. Break a piece. It should snap cleanly with no moisture inside. If it bends, keep going.
  6. Cool completely before packaging. Warm food in a sealed bag = condensation = mold.
  7. Package in portions. One bag = one meal = the amount of water you’ll add. Write the water amount and time on the bag.

Common Mistakes (I Made Them So You Don’t Have To)

  • Too much fat. Fat doesn’t dehydrate — it goes rancid. Use lean meats, minimal oil, and light coconut milk. This is the #1 reason homemade trail meals go bad early.
  • Spreading too thick. If your layer is more than ¼ inch, the outside dries and traps moisture inside. You’ll think it’s done when it’s not.
  • Not labeling bags. After a few batches they all look like brown crumbles. Write the meal name, date, water amount, and rehydration time on every single bag.
  • Skipping the test run. Always rehydrate one portion at home before committing it to a trip. Nothing worse than discovering your meal doesn’t work 8 miles from the trailhead.

The Math: Why This Is Worth Your Time

Let’s say you’re planning a 3-night trip. That’s 3 dinners and 3 lunches (6 meals).

Store-bought freeze-dried: 6 meals × $12 average = $72

Homemade dehydrated: 6 meals × $2.50 average = $15

Savings per trip: $57

Do three trips and you’ve paid for the dehydrator. Everything after that is pure savings — plus better food that you actually enjoy eating.

The Takeaway

Dehydrating your own trail meals is one of those skills that feels complicated until you try it once. Then you realize it’s just cooking with one extra step. The barrier isn’t knowledge or equipment — it’s just doing it the first time.

Your challenge: Pick one meal from the list above. Make a double batch of something you’d normally eat for dinner this week. Eat half, dehydrate the other half. Rehydrate it a few days later and see for yourself. That’s it. One meal. That’s your entry point.

Once you eat a trail meal you made yourself — one that actually tastes good, cost you $2, and weighs 4 ounces in your pack — you’re not going back to those overpriced pouches.

Self-reliance isn’t about doing everything the hard way. It’s about doing things the smart way — and keeping more money in your pocket while you’re at it.

Dehydrating is one corner of food self-reliance. The Self-Sufficient Backyard covers the rest — growing, preserving, and storing a year of food without a chest freezer.