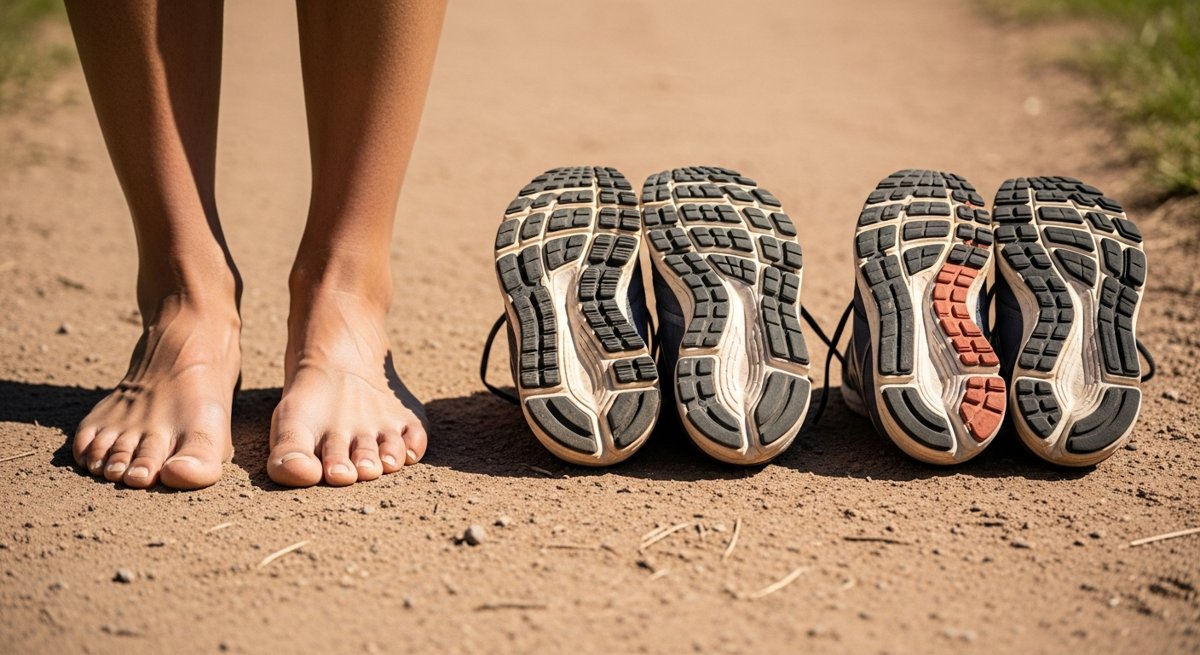
Walk into any running store and you’ll get hit with three religions: zero-drop minimalists who think cushioning is the devil, max-stack pillow lovers who can’t fathom feeling the ground, and the marketing folks in the middle selling you whatever’s on the wall. All three will tell you they have the answer. None of them are asking the right question.
The right question isn’t “what’s the best running shoe?” It’s “what do my feet actually need to do their job?” Because here’s the secret nobody selling shoes wants you to hear: the shoe is just a tool. Some tools fix problems. Some tools cause them. Most do both — depending on the foot inside.
This is Part 2 of our Foot Mechanics series. If you missed Part 1 on why your feet are weak, go read that first. This post is about the shoe itself: what the buzzwords mean, what actually matters, and how to pick something that helps you instead of hurting you.
The Three Camps (And What They Get Right and Wrong)
1. Minimalist / Zero-Drop
Heel and forefoot are the same height. Stack height (the foam under your foot) is low — usually 0-12mm. Wide toe box. Flexible sole. Think Altra, Vivobarefoot, Xero, and the original Vibram FiveFingers.
What they get right: Your foot has 26 bones, 33 joints, and over 100 muscles, tendons, and ligaments. It’s designed to move, splay, sense the ground, and absorb shock through that whole chain. Pile a 35mm slab of foam under it and you turn that sensory miracle into a numb stump. Zero-drop and wide toe boxes let the foot work like a foot.
Where they go wrong: Most people coming out of decades in cushioned shoes have weak feet, short calves, and tight Achilles tendons. If you jump straight from a 12mm-drop trainer into zero-drop, you will get hurt. The shoe didn’t break you — the mismatch between your tissues and the demand did. (We cover the transition plan in Part 4.)
2. Maximalist / High-Stack Cushion
Big foam stacks (30-50mm), often with a moderate to high heel-to-toe drop (8-12mm), and increasingly with a carbon plate in the midsole. Hoka built an empire on this. Nike Vaporfly turned it into a marathon-record-breaking weapon.
What they get right: For high-mileage road runners and people with cranky joints, that stack absorbs an absurd amount of impact. Carbon plates genuinely improve running economy — the science is real, not marketing. If your job is to grind out 50+ miles a week on concrete, maximalist shoes can keep you in the game.
Where they go wrong: All that foam between you and the ground kills proprioception — your foot’s ability to feel and react to the surface. Studies have shown that maximalist shoes can actually increase impact forces because you land harder when you can’t feel what you’re landing on. They also lock the foot in a rigid platform, so the intrinsic foot muscles atrophy. You become dependent on the shoe to do work your foot used to do.
3. Traditional Trainers
The middle of the road. Moderate stack (20-28mm), 8-10mm drop, some structure, some cushioning. Brooks Ghost, Asics Gel-Nimbus, Saucony Ride, the whole running-store wall.
What they get right: Nothing extreme. For a recreational runner doing 15-25 miles a week, they’re fine. They won’t fix your feet, but they probably won’t actively destroy them either.
Where they go wrong: They’re a compromise that doesn’t really commit to anything. Enough heel lift to keep your calves short. Enough cushioning to dampen your foot’s signal. Not enough to actually carry the load if you’re a heavy mileage runner. They’re the Toyota Camry of footwear — and that’s not always a compliment.
What Actually Matters (The Five Variables)
Forget the marketing categories. Here are the five things that actually change how a shoe interacts with your body.
| Variable | What It Means | Why It Matters |
|---|---|---|
| Heel-to-toe drop | The height difference between heel and forefoot (in mm) | Higher drop = more pressure on the forefoot/knees, shortens calves over time. Lower drop = more demand on calves/Achilles but a more natural foot strike. |
| Stack height | Total foam under your foot | More stack = more impact absorption but less ground feel. Less stack = better proprioception but more honest about your form. |
| Toe box width | How much room your toes have to splay | Narrow boxes cause bunions, neuromas, and weak intrinsic muscles. Wide boxes let your foot work as a stable platform. |
| Flexibility | Can you bend the shoe? Twist it? | Stiff shoes lock the foot in place. Flexible shoes let the 33 joints in your foot actually move. |
| Weight | Grams per shoe | Heavier shoes = more energy cost per stride. For long days on feet, this compounds. |
Notice “cushioning” isn’t on the list as a single variable. That’s because cushioning is the combination of stack height, foam density, and your weight. A 30mm stack of soft EVA foam feels nothing like a 30mm stack of dense PEBA. The number on the box doesn’t tell you what you’ll feel.
My Honest Opinion (Take It or Leave It)
Most adults benefit from a wide toe box and a moderately low drop (0-6mm). The maximum stack height should be set by what you’re doing and how much your tissues can currently handle — not by what’s trendy.
Here’s why: the toe box thing is non-negotiable. Squeezing your toes into a point for 8 hours a day in dress shoes and another 90 minutes in narrow running shoes is why half of America has hammertoes, bunions, and chronic plantar fasciitis. Wide toe boxes aren’t a preference. They’re an anatomical baseline.
Low drop matters because every millimeter of heel lift puts you in a slight forward lean, which shortens your calves and Achilles, loads your knees, and changes how your hips fire. You can get away with it for a while. You don’t get away with it forever.
But stack height? That depends on context. I run a hard surface long run in a moderately cushioned shoe. I do strength work and short runs barefoot or in something flat and flexible. I hike in something with grip and a wider platform but not a pillow. The shoe should match the demand.
How to Pick a Shoe Without Getting Conned
Walk into the store with this checklist. Ignore everything else.
- Try them on at the end of the day. Feet swell. A shoe that fits at 9 AM will be tight at 6 PM after a long run.
- Trace your foot on paper. Trace the shoe insole. Compare. The insole should be wider than your foot at the widest point — that’s your toe splay zone. If your foot is wider than the insole, the shoe is too narrow. Period.
- Flex test. Hold the heel, push the toe. The shoe should bend at the ball of the foot, where your foot bends — not in the middle of the arch.
- Twist test. Wring the shoe like a wet towel. Some give is good. A shoe that resists like a 2×4 will fight your foot’s natural motion.
- Check the drop on the spec sheet. Stores hide this. Look it up before you buy. Anything over 10mm should be a deliberate choice, not a default.
- Walk and jog around the store. If something feels weird in 2 minutes, it’ll feel terrible at mile 6.
The most expensive shoe in the store is not the best shoe for your foot. It’s the best shoe for the store’s margin. Don’t confuse the two.
What About the Carbon Plates Everyone’s Wearing?
Quick reality check. Carbon-plated super shoes (Vaporfly, Alphafly, Adios Pro, Endorphin Pro, etc.) are real. They make you 2-4% more efficient at race pace. For a sub-3-hour marathoner, that’s 5+ minutes. For a 4:30 marathoner, that’s also real time.
But: they’re race-day tools, not training tools. The plate locks your foot in a fixed-shape rocker. Train in them every day and you’ll get the same atrophy problem we talked about above — plus they break down fast (200-300 miles) and cost $250+. Use them for the workouts that matter. Train in something honest.
The Three-Shoe Rotation I Actually Recommend
If you’re a serious recreational runner — say, 20+ miles a week — here’s the setup that gives you the best of every camp without the downsides of any.
- A daily trainer with moderate cushion and a 4-8mm drop. This is your bread and butter. 60-70% of your miles. Brooks Glycerin, Saucony Ride, New Balance 880 territory.
- A minimalist or zero-drop shoe for short easy runs and strength work. Altra Escalante, Vivobarefoot Primus, Xero HFS. 20-30% of your miles. This keeps your feet strong.
- A “fast day” shoe — could be a super shoe or just a snappier, lighter trainer. Used for tempo runs, intervals, and races. 10-20% of your miles.
Rotating shoes isn’t just about variety — it’s about loading your tissues in different patterns so no single repetitive stress wears out one structure. Multiple studies have shown rotation reduces injury rate by 30-40%. It’s not a luxury. It’s a strategy.
The TL;DR
- Wide toe box always. Non-negotiable. Your foot needs to splay.
- Lower drop (0-8mm) for most people, most of the time. Long-term, your calves and knees will thank you.
- Stack height depends on the job. Race day pillows, training day honesty.
- Carbon plates are a tool, not a lifestyle. Use them for races, not for groceries.
- Rotate. Two or three shoes for different jobs beats one shoe doing everything.
- Don’t transition fast. Going from a 12mm-drop maximalist to a zero-drop minimalist in one week is how you get plantar fasciitis. Take 8-12 weeks. (Again: Part 4 walks you through this.)
This Week’s Challenge
Pull out every pair of shoes you own — dress shoes, running shoes, sneakers, boots. Trace your bare foot on a piece of paper. Now trace the insole of each shoe. How many of them are actually wider than your foot at the toes? If the answer is “none” or “one,” you just diagnosed a foot health problem you didn’t know you had. Fix that first. The right shoe matters more than the right training plan.
Next up in the series: Part 5 — Recovery From the Ground Up: What Your Feet Need After Hard Days. Because picking the right training shoe is half the battle. What you do with your feet after the run is the other half.