

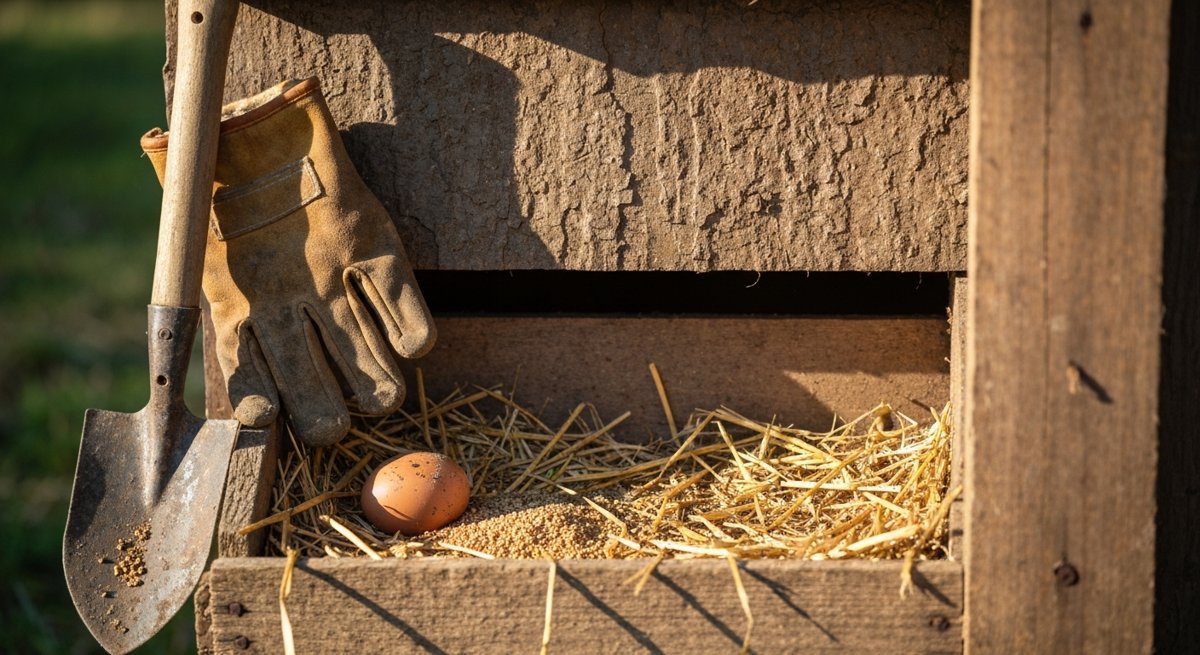
Everybody romanticizes backyard chickens. Fluffy hens, fresh eggs, kids learning where food comes from. It’s a great picture. The reality is dirtier, louder, and a lot more expensive than the Pinterest version — but it’s also one of the most rewarding things you can do on a quarter acre or more. I’ve raised chickens long enough to know the rosy version is a lie of omission. Here’s the real math, the real timeline, and the stuff most “starter guides” leave out because it would scare you off.
The Real Startup Cost (Not the Fantasy)
Online guides love to tell you that you can start raising chickens for “under $200.” That number is either dishonest or assumes you already have a pile of free pallets, scrap lumber, and a chicken-friendly neighbor giving you hens. Here’s what it actually costs to start a small backyard flock of 4–6 hens, doing it right the first time:
| Item | Budget Build | Do-It-Right Build |
|---|---|---|
| Coop (4–6 hens) | $300 (DIY) | $800–1,200 (prefab or quality DIY) |
| Run / fencing (hardware cloth, posts) | $150 | $350 |
| Feeders, waterers, nest boxes | $60 | $120 |
| Brooder setup (heat plate, tub, bedding) | $80 | $130 |
| 6 chicks (sexed pullets) | $30 | $45 |
| First 6 months of feed | $120 | $160 (organic) |
| TOTAL | ~$740 | ~$1,605–$2,005 |
My honest opinion: the budget build is where 80% of new chicken keepers start, and 60% of them rebuild within two years because their first coop fell apart, leaked, or got compromised by a raccoon. Spend the money on the coop and the hardware cloth. You can cheap out on feeders. You cannot cheap out on what’s keeping predators from eating your hens at 2 a.m.
The Timeline From Chick to First Egg
This is where the romantic picture gets wrecked. You don’t get eggs in a month. You get eggs in five to seven months, and even then they’re tiny and inconsistent for the first few weeks. Here’s the realistic timeline:
- Week 0–6: Brooder phase. Chicks live indoors (garage, mudroom, spare bathtub) under a heat plate. They smell. They generate dust. They double in size every week. You will be cleaning a brooder every other day.
- Week 6–10: Awkward teenager phase. They’re feathered enough to move outside but too small to be fully predator-safe. Most losses happen here.
- Week 10–18: Pullet phase. They look like chickens. They act like chickens. They produce zero eggs. You’re spending ~$30/month on feed and getting nothing back.
- Week 18–24: First eggs. Usually small, sometimes shell-less, occasionally laid in weird places. Production ramps over 4–6 weeks.
- Week 24–28: Reliable laying. A healthy hen now lays 4–6 eggs per week.
If you start chicks in March, you’ll get reliable eggs in late August. Plan accordingly.
The Cost Per Egg Is Not Cheaper Than the Store
Let’s just kill this myth right now. Six hens at peak production give you about 24 eggs per week. That’s 1,250 eggs per year. Annual feed cost runs around $400–$500 for a small flock. Add bedding, supplements, mite treatments, and the inevitable replacement of one hen per year, and you’re at $600/year minimum.
$600 ÷ 1,250 eggs = about $0.48 per egg. That’s $5.76 a dozen. Store eggs are cheaper most weeks. Pasture-raised organic eggs at the farmer’s market are about the same.
So why do it? You’re not raising chickens to save money. You’re raising them because:
- You know exactly what they ate.
- The yolks are orange, not yellow — and they taste like food, not Styrofoam.
- You have eggs when the supply chain hiccups.
- Kids learn where food comes from in the most direct way possible.
- The flock turns kitchen scraps and yard pests into protein.
Those are real benefits. Saving money is not.
What Nobody Tells You
This is the section most “how to raise chickens” articles skip. Here’s what you’ll actually deal with:
1. Predators are relentless and creative
Raccoons can open simple latches. Hawks watch your run from the trees. A single weasel can wipe out an entire flock in a night through a hole the size of a quarter. You need hardware cloth, not chicken wire — chicken wire keeps chickens in, not predators out. Bury it 12 inches down and out, or use an apron skirt. Use carabiners on every coop latch.
2. They stop laying in winter
Hens need ~14 hours of daylight to lay consistently. From November through February in most of the U.S., production drops 60–80%. You can run a coop light on a timer to keep production up, but it shortens the hen’s productive lifespan. Your call.
3. They get sick in ways that look like nothing, then die fast
A chicken that “looks a little off” today is often dead by tomorrow. They hide illness until they can’t anymore. Common issues: respiratory infections, egg binding, sour crop, mites, and Marek’s disease. Find a vet or experienced keeper before you need one — most regular vets won’t see chickens.
4. The smell is real
A clean, well-ventilated coop with deep-litter management barely smells. A neglected coop smells like an outhouse on day three. The difference is one bag of pine shavings every few weeks and stirring the bedding once a week. Don’t be the neighbor who ruins backyard chickens for everyone.
5. You’re going to have to deal with death
Hens get old, get sick, get eaten, or stop laying around year 4. You’ll either be culling, paying for vet visits, or burying birds. Know that going in. It’s part of the deal. If you can’t, get your eggs from someone who can.
Best Breeds for Beginners
Stick with dual-purpose, cold-hardy, docile breeds for your first flock. These are the workhorses:
- Buff Orpington — calm, cold-hardy, good layers (~200 eggs/year), great with kids.
- Black Australorp — the production champion. 250–300 eggs/year. Quiet and friendly.
- Plymouth Rock (Barred Rock) — hardy, beautiful, ~250 eggs/year. Tolerates heat and cold.
- Easter Egger — lays blue/green eggs. Hardy, friendly, great novelty bird in the mix.
- Rhode Island Red — tough, productive, but can be bossy. Avoid in mixed flocks if you’re new.
Skip the fancy breeds (Silkies, Polish, Frizzles) for your first flock. They’re harder to keep healthy and lay fewer eggs.
Your First-Year Checklist
If you’re seriously considering this, here’s the order of operations:
- Check local zoning. Many cities allow hens but ban roosters. HOAs vary wildly.
- Build or buy the coop before you order chicks. You’ll need it sooner than you think.
- Order sexed pullets from a hatchery in late winter for spring delivery.
- Set up the brooder with a heat plate (not a heat lamp — fire risk is real).
- Predator-proof the run with hardware cloth, buried apron, and locking latches.
- Find a chicken-savvy vet or experienced keeper in your network before an emergency.
- Plan for vacation coverage — chickens need daily care.
The Takeaway
Backyard chickens are not a money-saving project. They’re a food sovereignty project. You’re trading dollars for control, knowledge, and the kind of skill that doesn’t get returned to the manufacturer. That’s a deal I’ll take every time.
If you’re going to do it, do it once and do it right. Build the coop you won’t have to rebuild. Buy the breeds that actually lay. Predator-proof like a raccoon’s reading the blueprints. And know that your first egg, sometime around month six, will probably be the most expensive egg you’ve ever eaten — and the best one.
Your challenge this week: Walk your property. Pick the spot for a coop. Measure it. Check your zoning rules. Don’t buy anything yet. Just commit to whether this is real or romantic. The answer determines everything else.
Chickens are usually the first livestock on a self-reliant property — rarely the last. The Self-Sufficient Backyard maps out how eggs, garden, water, and energy fit together into one working homestead.