

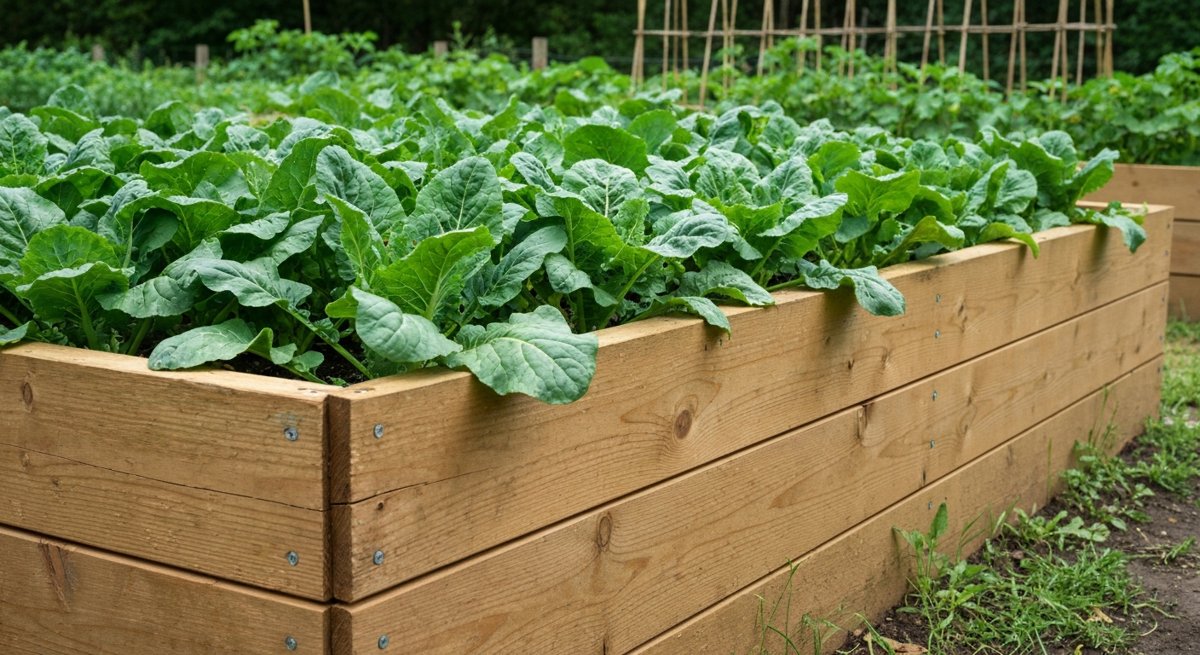
I’ve built raised beds three times in my life. The first set rotted in 4 years. The second set warped and split in 6. The third set is still standing strong at year 11 — and I’d bet on another decade easy. The difference wasn’t expensive lumber. It was four specific decisions I didn’t know to make the first two times around.
If you’re about to drop $400 on a single 4×8 cedar bed because that’s what every “homesteading expert” on Instagram swears by — pump the brakes. There’s a better way. It’s cheaper, lasts longer, and doesn’t require a single board of cedar.
Why Most Raised Beds Fail So Fast
Before we talk materials, let’s talk about what actually kills a raised bed. It’s not what most people think.
- Wet wood-to-soil contact — Soil holds moisture against the wood 24/7. Even rot-resistant species lose to constant moisture.
- Fasteners that fail before the wood does — Drywall screws and bright steel rust out in 2-3 years. Your bed falls apart while the boards are still solid.
- Bowing from soil pressure — A full 4×8 bed has roughly 1,000 lbs of wet soil pushing outward. No bracing = bulging walls = cracked corners.
- Ground contact at the bottom edge — That bottom board is sitting in a wet sponge year-round. It’s always the first thing to go.
Fix those four things and your bed will outlive your interest in gardening. Here’s how.
The Material Decision: Skip Cedar
Cedar is the default recommendation because it’s naturally rot-resistant and looks beautiful. Both true. But at $8-12 per linear foot of 2×10, a single 4×8 bed runs $300+ in lumber alone. And in wet climates, even cedar gives you 8-10 years tops.
My honest opinion after building dozens of beds: ground-contact rated pressure-treated lumber is the best value for a long-lasting bed. The modern stuff (ACQ or MCA-treated since 2003) does NOT use arsenic. The EPA, USDA, and multiple peer-reviewed studies have found no measurable health risk for growing food in modern PT lumber. I’ll die on this hill.
If you can’t get past the mental hurdle (totally fair — I’ve been there), the runner-up options ranked by longevity per dollar:
- Concrete block (CMU) — Lasts effectively forever. ~$2.50/block. Looks industrial but functional.
- Cinder/landscape block — Stackable, no mortar needed for short beds. 50+ year life.
- Black locust or Osage orange — If you can source it locally, these natives outlast cedar 3:1. Hard to find.
- Cedar — Beautiful, expensive, 8-12 years.
- Douglas fir or pine, untreated — Don’t bother. You’ll be rebuilding in 4 years.
For the rest of this guide, I’ll assume you’re going with 2×10 ground-contact PT lumber. The technique transfers to any wood.
The Build: A 4×8 Bed That Outlives the Dog
Materials List (~$95-110)
- (3) 2x10x8′ ground-contact PT lumber — one cut in half for the short sides
- (4) 4x4x12″ PT post offcuts for inside corner blocks
- (1) box of 3″ structural screws — get the hot-dipped galvanized or ceramic-coated ones, NOT bright steel drywall screws
- (2) 24″ lengths of #4 rebar for cross-bracing the middle
- (1) roll of 6-mil black plastic sheeting or pond liner offcuts
- (1) roll of hardware cloth (1/2″) if you have gophers/voles
Step 1 — Level the Ground (Don’t Skip This)
A bed that’s 2″ out of level will pool water on one side and dry out the other. Stake the corners, run a string line, and remove sod where needed. You’re not building a foundation — you just want the four corners within 1/2″ of each other.
Step 2 — Pre-Drill and Use the Right Screws
This is the single biggest upgrade from typical bed builds. Pre-drill every screw hole — PT lumber splits if you don’t, especially near the ends. Use 3″ structural screws rated for ACQ-treated wood (the box will say so). Bright steel drywall screws will literally dissolve in PT lumber within 18 months due to the copper in the treatment.
Step 3 — Inside Corner Blocks Instead of End Screws
Don’t screw the side boards into the end grain of the short boards. End grain holds screws about as well as wet cardboard. Instead, cut four 4×4 PT offcuts to your bed height and screw both adjoining boards into the 4×4. Now you have side grain holding everything together — roughly 5x stronger.
Step 4 — Brace the Middle with Rebar
For any bed longer than 6 feet, the long sides will bow outward as soil saturates. Drive two pieces of #4 rebar deep into the ground on the outside of each long board, at the 1/3 and 2/3 marks. Total cost: $4. Total bow over 10 years: zero.
Step 5 — The Plastic Liner Trick That Doubles Lifespan
Here’s the move that separates a 5-year bed from a 15-year bed: line the inside walls (not the bottom) with 6-mil black plastic or pond liner. Staple it to the top edge of the boards so soil moisture never touches the wood. You leave the bottom open for drainage and worm migration. The wood stays dry on the inside face. The outside dries quickly after rain. Decay rate drops by an order of magnitude.
If you’re in gopher or vole country, lay 1/2″ hardware cloth across the entire bottom before filling. Tack it up the sides 4 inches. Saves your root crops from being eaten from below — I learned this the expensive way after losing an entire carrot harvest in 2019.
Fill It Right (Hugelkultur-Lite)
A 4x8x10″ bed needs about 27 cubic feet of soil. At $8-10/bag for quality topsoil mix, you’re looking at $200+ to fill it. There’s a better way: layer it.
- Bottom 4-5 inches: Logs, branches, sticks, woody yard waste. Free. Decomposes slowly and acts like a sponge, holding water for dry spells.
- Next 2-3 inches: Leaves, grass clippings, kitchen scraps, cardboard. Free.
- Top 4-6 inches: Quality topsoil + compost mix. This is your actual root zone. Spend the money here.
First year, the wood layer settles and you’ll need to top it up with another inch or two of compost. By year two, you’ve got the best soil on the block.
The Annual Maintenance That Buys You Decades
Once a year — pick a date you’ll remember, mine is the first Saturday in November — do these three things:
- Walk the bed and tighten any loose screws. PT lumber expands and contracts; corners will eventually back out slightly.
- Top up with 2-3″ of compost. Beds shrink. Don’t fight it, just feed them.
- Re-staple any loose liner sections. UV will eventually eat the top edge of exposed plastic — fold it inward under the soil if you see it cracking.
That’s it. 20 minutes per bed per year. In exchange, you get a structure that’ll feed your family for a decade or more.
The Real Cost Comparison
Here’s what 20 years of gardening actually costs by material choice for a single 4×8 bed:
- Untreated pine: ~$60 every 4 years = $300 + 5 rebuilds of labor
- Cedar: ~$320 every 10 years = $640 + 1 rebuild
- PT lumber with liner method: ~$100 every 15+ years = $100-200 total
- Concrete block: ~$120 once = $120 forever
Pretty straightforward math.
Your Weekend Challenge
Build one bed. Just one. Pick a 4×8 footprint, pick your material, and commit a Saturday to it. Don’t overthink the location — you’ll learn more from one season of actually growing something than from another year of “planning the garden.” The best raised bed is the one that’s actually in the ground.
If you build one this weekend using the techniques above, message me on the site or tag us — I want to see it. And in 15 years when you’re still pulling tomatoes out of it, you’ll thank yourself for spending the extra hour on the corner blocks and the liner.
— Shelle
Once the beds are built, the question is what to put in them. If you want plants that pull double duty — food and natural medicine — the Medicinal Garden Kit is a solid start on a backyard apothecary.