

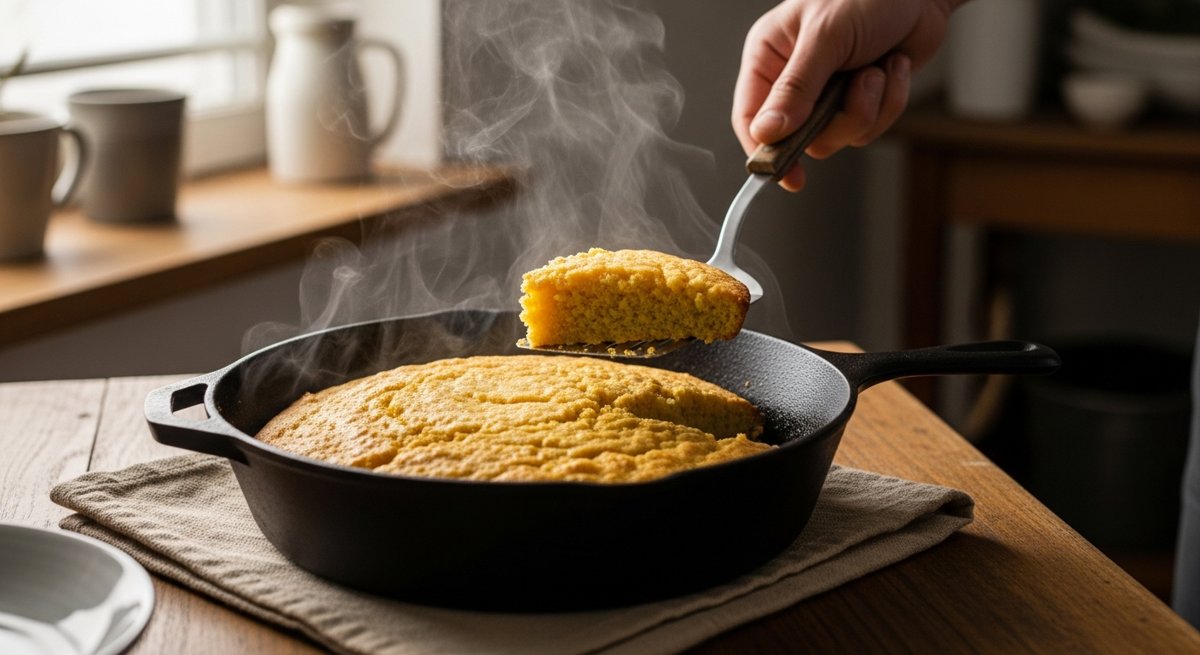
Somewhere in your family there was a pan that never got thrown out. It got handed down. It cooked ten thousand eggs, a few hundred cornbreads, and survived a couple of moves and at least one divorce. That pan was almost certainly cast iron — and the reason it outlived everything else in the kitchen is the same reason people get intimidated by it: it works differently than every other pan you own.
Here’s the good news. Cast iron isn’t fussy. It’s just misunderstood. Once you get the three fundamentals — seasoning, heat, and cleanup — you’ll have a pan that sears better than anything in a department store, costs less than a tank of gas, and quite literally outlives you. Let’s get you there.
Why Cast Iron Beats Your Nonstick
Three reasons, and they all matter:
- It holds heat like a brick. Cast iron has serious thermal mass. When you drop a cold ribeye onto a thin nonstick pan, the temperature crashes and you end up steaming your meat. Cast iron barely flinches — that’s how you get a real, dark, restaurant-grade crust.
- It’s genuinely nonstick once seasoned. A well-loved pan releases eggs as cleanly as Teflon, minus the chemical coating flaking into your food at high heat.
- It’s basically immortal. No coating to scratch off, no warping, no “replace it every two years.” You can buy a rusted-shut pan at an estate sale, strip it, and bring it back from the dead. Try that with a $200 nonstick.
My honest take: if you own one good pan for the rest of your life, make it cast iron. A Lodge 10.25″ Cast Iron Skillet (L8SK3) runs under twenty bucks and will be in your grandkids’ kitchen. Nothing else in your house has that kind of ROI.
What “Seasoning” Actually Is (It’s Not Spices)
Seasoning confuses people because the word is misleading. It has nothing to do with salt and pepper. Seasoning is a layer of polymerized oil bonded to the iron. You heat oil past its smoke point, it breaks down and chemically bonds to the metal, and that hardened layer becomes your slick, rust-proof cooking surface. Think of it like a coat of varnish you build up over time.
Most new pans (Lodge included) come “pre-seasoned,” but it’s a thin factory coat. You’re going to make it better with use. Here’s how to lay down a solid base layer at home:
The 5-Step Home Seasoning Method
- 1. Scrub it clean and dry it completely. Hot water and a little soap on a fresh pan is fine. Dry with a towel, then set it on a burner for a minute to drive off every trace of moisture.
- 2. Oil it thin — thinner than you think. A teaspoon of a high-smoke-point oil (grapeseed, canola, or flaxseed). Rub it over the entire pan — inside, outside, handle — then wipe it back off with a clean cloth until it looks dry. A thick coat turns gummy and sticky. Thin is the whole game.
- 3. Bake it upside down at 450–500°F for one hour. Upside down so excess oil drips off. Put foil on the rack below to catch the drips.
- 4. Let it cool in the oven. Don’t rush it.
- 5. Repeat 2–3 times for a strong base. Each round adds a layer. After that, cooking does the rest.
Heat Management: Where Everyone Screws Up
The single biggest cast iron mistake is treating it like nonstick — cranking it to high and going. Cast iron heats slowly and unevenly, but once it’s hot, it stays hot. So:
- Preheat low and slow. Medium heat, five minutes minimum. A drop of water should dance and skitter across the surface, not just sit there.
- Then back the heat down to cook. Because of that thermal mass, you need less burner than you think. People scorch food because they leave it on high after preheating.
- Let proteins release on their own. A steak or chicken thigh will stick when you first lay it down, then naturally release once a crust forms. If you’re fighting it with a spatula, it’s not ready. Wait.
If you’re searing thick cuts, pull a ThermoPro TP19H Instant-Read Meat Thermometer and cook to temperature instead of guessing. Cast iron’s crust game is so good it’s easy to nail the outside while the inside lags — temp takes the gamble out.
Cleaning: Forget Everything You’ve Heard
The “never use soap” rule is a half-myth left over from the lye-soap era. A little modern dish soap won’t strip a properly polymerized seasoning. What actually kills cast iron is water sitting in it — that’s rust. Here’s the bulletproof routine:
- Clean while it’s still warm. Hot water and a brush or a Lodge Chainmail Scrubber for Cast Iron Pans knocks off stuck-on bits in seconds. That chainmail scrubber is genuinely the best $10 cast iron upgrade — it scrubs gunk without touching your seasoning.
- Stuck-on mess? Coarse salt as an abrasive scrub, or simmer a little water in the pan to loosen it. Never leave it to soak.
- Dry it immediately and completely. Towel first, then 60 seconds on a hot burner to evaporate any hidden moisture.
- Wipe a drop of oil over the surface while it’s warm. Buff it dry. That’s it — you just re-seasoned a hair every single time.
What to Cook First (Build Confidence Fast)
Start with foods that add seasoning and are hard to ruin:
- Bacon. Renders fat, seasons the pan, builds confidence. The perfect first cook.
- Smash burgers. The crust cast iron puts on ground beef is unreal. Nonstick can’t touch it.
- Cornbread. Preheat the oiled pan in the oven, pour the batter into the hot pan, and you get a crackly golden bottom crust.
- Seared-then-oven-finished steak. Sear on the stove, slide the whole pan into the oven. One pan, steakhouse result.
Once you’re hooked, the natural next buy is a Dutch oven. A Lodge Essential Enameled Cast Iron Dutch Oven, 6 Quart handles braises, no-knead bread, soups, and chili. The enameled version skips seasoning maintenance entirely, so it’s a nice complement to a bare skillet rather than a replacement: bare iron for searing, enamel for low-and-slow acidic stuff like tomato sauce (acid slowly eats bare seasoning, so enamel earns its keep there).
The Takeaway
Cast iron isn’t a precious heirloom you’re afraid to touch — it’s a tool that gets better the more you use it. Season it thin, preheat it slow, dry it fast, and cook in it constantly. That’s the entire skill.
Your challenge: if you’ve got a pan sitting in a cabinet because you’re “not sure how to use it,” this week you cook bacon in it three mornings in a row. Clean it the right way each time. By Sunday you’ll have a slicker pan and a habit — and you’ll wonder why you ever bought anything with a coating that wears out. Cook like your grandpa. The pan’s been waiting.