Meal Prep Sunday: The 2-Hour Protocol for a Week of High-Protein Meals

Every Sunday, you have the same conversation with yourself. “This week I’ll eat better.” By Tuesday you’re staring into a fridge with nothing but condiments and leftover pizza, and the DoorDash app is already open.

The problem isn’t willpower. It’s logistics. Eating well requires decisions — what to cook, what to buy, when to cook it. By the time you’ve worked a full day, made dinner, and handled the rest of life, you have zero decision-making energy left. So you default to the easiest option, which is always the worst one.

Meal prep fixes this by moving the decisions to Sunday, when you actually have bandwidth. Two hours of focused cooking. Five days of meals, ready to grab and go. No thinking required on Tuesday at 7 PM when your brain is fried.

The System (Not Recipes — a System)

Most meal prep content gives you 47 Pinterest-worthy recipes and expects you to shop for 83 ingredients. That’s a project, not a system. A system is repeatable, scalable, and boring enough that you’ll actually do it every week.

Here’s the framework:

The 3-Component Meal Formula

Protein (6-8 oz) Chicken thighs, ground turkey, beef, salmon, eggs
Carb (1 cup) Rice, sweet potatoes, quinoa, pasta
Vegetable (1-2 cups) Broccoli, bell peppers, spinach, green beans, asparagus

That’s it. Pick one from each column. Season it. Cook it. Put it in a container. You now have a meal with 40-50g protein, complex carbs, and micronutrients. No recipe required.

The 2-Hour Sunday Protocol

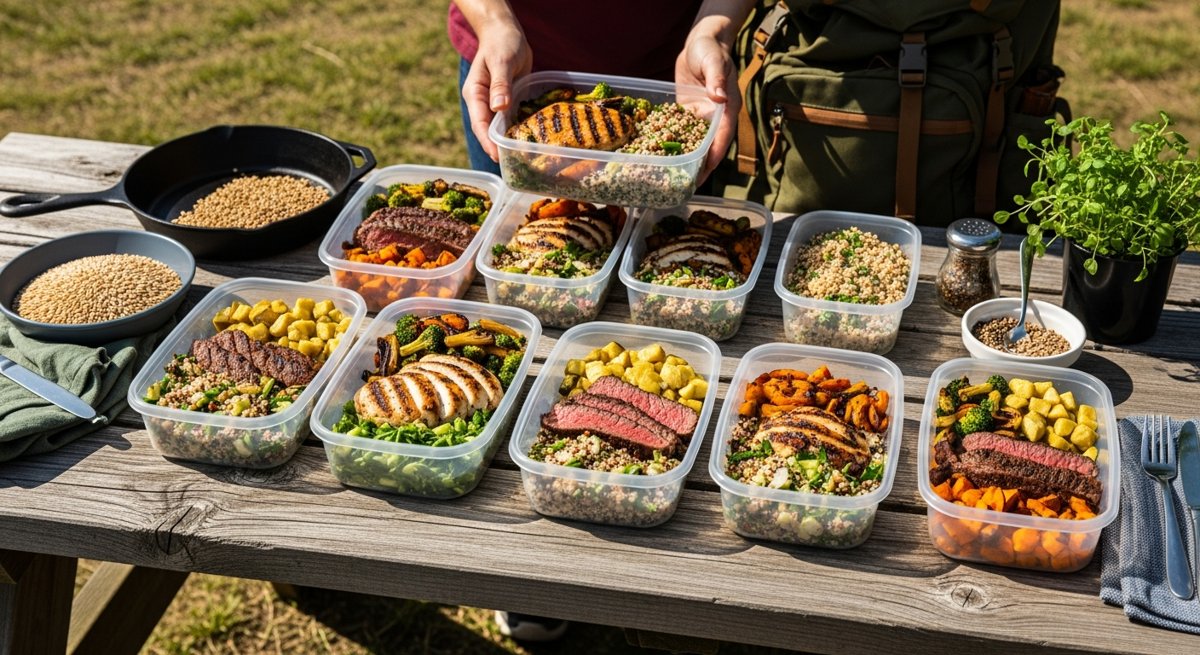
Here’s exactly how to execute a full week of meals in under two hours. The key is parallel cooking — oven, stovetop, and rice cooker all running simultaneously.

Before You Start (5 minutes)

  • Set out 10 meal prep containers (5 lunches + 5 dinners)
  • Preheat oven to 400°F
  • Start rice cooker with 4 cups dry rice
  • Put on a podcast. This isn’t a chore — it’s your weekly reset.

Phase 1: Oven Protein (0:00 – 0:40)

Sheet pan your primary protein. Two recipes that work every single week:

Option A: Chicken Thighs (yields ~10 servings)

4 lbs boneless skinless chicken thighs. Toss with olive oil, salt, pepper, garlic powder, smoked paprika. Spread on two sheet pans. Bake 400°F for 25 minutes. Internal temp: 165°F.

Per serving: ~35g protein, 180 cal

Option B: Ground Turkey (yields ~10 servings)

4 lbs ground turkey (93% lean). Brown in two large skillets with diced onion, garlic, cumin, chili powder. 12-15 minutes. Versatile — works as taco bowls, stir-fry base, or pasta sauce.

Per serving: ~30g protein, 160 cal

Phase 2: Vegetables (0:20 – 0:45)

While protein is cooking, prep and roast your vegetables:

  • Broccoli: Cut 3 lbs into florets. Toss with olive oil, salt, red pepper flakes. Roast at 425°F for 18-20 minutes (goes in after chicken comes out).
  • Bell peppers + onions: Slice 6 peppers and 3 onions. Sauté in a skillet with olive oil for 10 minutes. Season with salt and Italian seasoning.
  • Spinach (no-cook option): Buy pre-washed bags. Add raw to containers — it wilts perfectly when you reheat the meal.

Phase 3: Assembly (1:00 – 1:30)

Rice is done. Protein is done. Vegetables are done. Now assemble: protein in one section, rice in another, vegetables in the third. If your containers don’t have compartments, it doesn’t matter — it all gets mixed when you eat it anyway.

Phase 4: Breakfast Prep (1:30 – 1:50)

Egg Muffins (yields 12 — ~6 servings of 2)

12 eggs, whisked. Add diced ham or turkey sausage, shredded cheese, diced bell pepper. Pour into greased muffin tin. Bake 375°F for 18-20 minutes. Grab 2-3 each morning, microwave 45 seconds.

Per 2 muffins: ~24g protein, 220 cal

Phase 5: Cleanup (1:50 – 2:00)

Clean as you go during downtime. By now, most of the cleanup is done. Wipe down counters, load the dishwasher, stack your containers in the fridge. Done.

The Grocery List (Every Week, Same List)

This is the power of a system — your shopping list barely changes week to week:

  • □ 4 lbs chicken thighs or ground turkey (~$12-16)
  • □ 12-18 eggs (~$4)
  • □ 4 cups dry rice (~$2)
  • □ 3 lbs broccoli (~$5)
  • □ 6 bell peppers (~$5)
  • □ 3 onions (~$2)
  • □ Bag of pre-washed spinach (~$3)
  • □ Shredded cheese (~$3)
  • □ Olive oil, salt, garlic powder, smoked paprika (pantry staples)

Total: ~$35-40 for 15+ meals. That’s $2.50/meal.

Compare that to DoorDash. Your average delivery order is $18-25 after fees and tip. Five takeout lunches = $100+. Meal prep saves you $60-80 per week. That’s over $3,000 a year back in your pocket.

Making It Not Suck

The number one reason people quit meal prep: boredom. Eating the same chicken-rice-broccoli for five days is a special kind of monotony. Here’s how to fix it without adding complexity:

Rotate Seasonings, Not Recipes

Same protein, different flavor profile each week:

  • Week 1: Mexican — cumin, chili powder, lime juice, cilantro
  • Week 2: Mediterranean — oregano, lemon, garlic, olive oil
  • Week 3: Asian — soy sauce, ginger, sesame oil, sriracha
  • Week 4: BBQ — smoked paprika, brown sugar, cayenne, mustard powder

Same cooking method. Same containers. Same two hours. Completely different eating experience.

The Sauce Strategy

Keep 3-4 sauces in the fridge: hot sauce, soy sauce, ranch, salsa. Add sauce at mealtime, not during prep. This lets you change the flavor of the same container depending on your mood. A chicken-rice bowl with sriracha on Monday and ranch on Wednesday is functionally two different meals for your taste buds.

The Protein Math

If you’re training (and if you’re reading BaseCamp, you should be), you need roughly 0.7-1.0g of protein per pound of bodyweight. For a 180 lb guy, that’s 130-180g per day. Here’s what a full day of meal prep eating looks like:

Meal Food Protein
Breakfast 3 egg muffins + Greek yogurt 48g
Lunch Chicken + rice + broccoli bowl 40g
Snack Protein shake + banana 30g
Dinner Turkey + rice + peppers bowl 35g
Daily Total 153g

153g of protein at ~$5-7/day all-in. Try hitting that with restaurant food without spending $40.

Container Strategy

Glass containers with snap-lock lids. Not plastic. Glass doesn’t stain, doesn’t absorb smells, doesn’t warp in the microwave, and lasts years instead of months. Yes, they’re heavier. You’ll survive. A set of 10 glass containers with compartments runs about $30-40 and will last you 2-3 years of weekly use. That’s the cost of two DoorDash orders.

The Storage Rules

  • Fridge life: 4-5 days for cooked chicken/turkey, 3 days for fish. Prep Sunday, eat through Thursday. Friday is takeout or cook fresh — you’ve earned it.
  • Freeze the overflow: If you’re making 10 meals but only eating 8 this week, freeze 2. Build a freezer stockpile for the weeks you can’t prep.
  • Don’t prep wet salads ahead of time. Lettuce-based meals turn to soup by day 3. Prep the protein and grains, add fresh greens day-of.
  • Rice reheats better with a splash of water. Sprinkle a tablespoon of water on top before microwaving. It steams back to life.

Start This Sunday

Don’t overthink this. Don’t pin 47 recipes. Don’t buy a $200 meal prep starter kit. Go to the store with the grocery list above. Come home. Set a 2-hour timer. Cook protein, cook rice, roast vegetables, assemble containers.

The first time will take longer than two hours. You’ll fumble the timing, overcook the chicken, forget to spray the muffin tin. That’s fine. The second time you’ll cut 20 minutes off. By the fourth week, you’ll be operating on autopilot.

This is how it works with everything worth doing. The system is more important than the execution. A mediocre meal prep Sunday beats a perfect diet plan that lives in a Google Doc. Action over optimization. Always.

You’re not meal prepping because you love cooking. You’re meal prepping because you’re tired of being controlled by convenience. That’s the difference between drifting and deciding.

Decide what you eat. Or someone else will decide for you.
Meal Prep Recipes: High-Protein, High-Volume, Low-Calorie Meals That Actually Fill You Up

Simple, high-protein, volume-friendly recipes built for meal prep. New recipes added regularly.

Looking for the science behind these choices? Read How Fat Cells Work to understand why volume eating is the most sustainable approach to body composition.

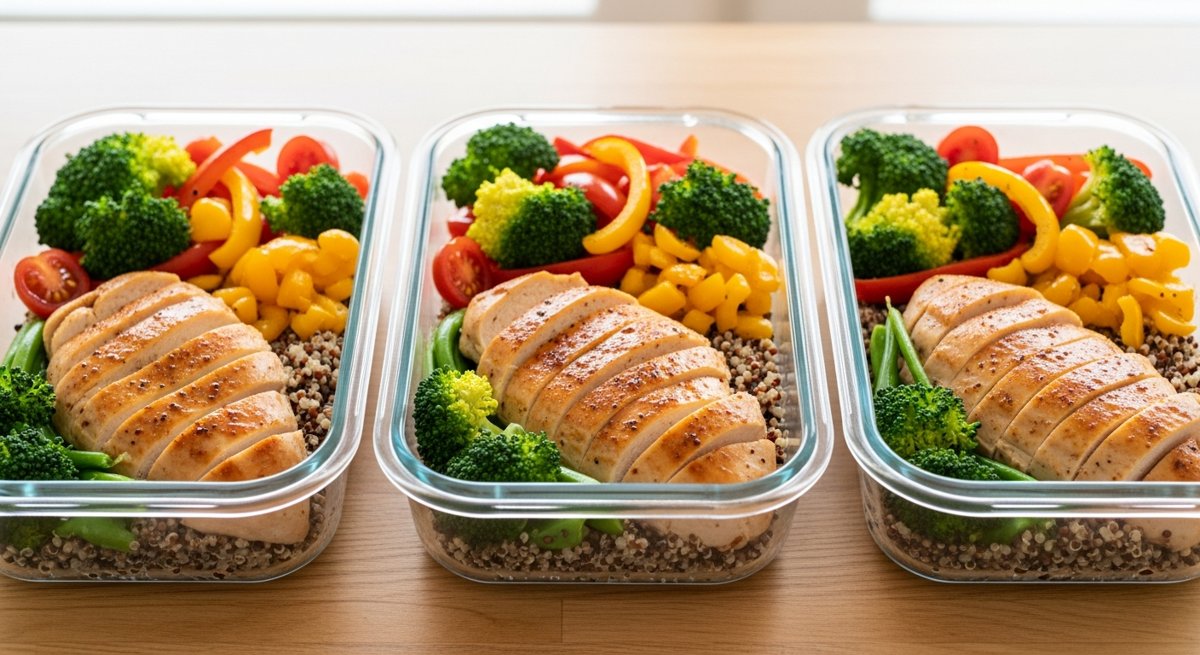
Chicken & Vegetable Power Bowl

Prep time: 15 min | Cook time: 25 min | Serves: 5 (meal prep)

Per serving: ~380 calories, 42g protein, 28g carbs, 9g fat

Ingredients

  • 2 lbs chicken breast, cubed
  • 1 lb broccoli florets
  • 2 bell peppers, diced
  • 1 large sweet potato, cubed
  • 2 cups cooked brown rice or quinoa
  • 2 tbsp olive oil
  • Salt, pepper, garlic powder, smoked paprika

Instructions

  1. Preheat oven to 425F. Toss sweet potato and broccoli with 1 tbsp olive oil, salt, pepper, and garlic powder. Spread on a sheet pan. Roast 25 minutes.
  2. While veggies roast, heat 1 tbsp olive oil in a large skillet over medium-high. Season chicken with smoked paprika, salt, pepper. Cook 6-7 minutes until golden and cooked through.
  3. Divide rice, chicken, and roasted vegetables into 5 meal prep containers.
  4. Store in fridge up to 5 days. Reheat 2-3 minutes in microwave.

Variations:

  • Tex-Mex: Swap paprika for cumin and chili powder. Add black beans. Top with salsa.
  • Asian: Use soy sauce + ginger on the chicken. Add edamame. Drizzle with sriracha.
  • Mediterranean: Use oregano and lemon. Add cherry tomatoes and cucumber. Top with feta.

Turkey Chili — Big Batch

Prep time: 10 min | Cook time: 35 min | Serves: 8

Per serving: ~290 calories, 32g protein, 24g carbs, 7g fat

Ingredients

  • 2 lbs ground turkey (93% lean)
  • 2 cans (15 oz) kidney beans, drained
  • 1 can (28 oz) crushed tomatoes
  • 1 can (15 oz) diced tomatoes
  • 2 bell peppers, diced
  • 1 large onion, diced
  • 4 cloves garlic, minced
  • 2 tbsp chili powder, 1 tbsp cumin, 1 tsp smoked paprika
  • Salt, pepper to taste

Instructions

  1. Brown turkey in a large pot over medium-high heat, breaking into crumbles. Drain any excess fat.
  2. Add onion, peppers, garlic. Cook 3-4 minutes until softened.
  3. Add all spices, stir 30 seconds until fragrant.
  4. Add all tomatoes and beans. Bring to a boil, then reduce to simmer for 25 minutes.
  5. Portion into containers. Keeps 5 days in fridge, 3 months in freezer.

Top with: Greek yogurt (instead of sour cream), diced avocado, hot sauce, fresh cilantro.


More recipes coming soon. Bookmark this page or check back regularly.

— BaseCampGoods
Recipes · basecampgoods.com

Stop Overpacking Your Truck: How to Build a Vehicle EDC Kit That Actually Gets Used

Here’s the pattern I see constantly: someone gets into preparedness, buys a massive tactical backpack, stuffs it with 40 pounds of gear, throws it behind the driver’s seat, and never touches it again. Six months later, the water’s expired, the batteries are dead, and they can’t find the one thing they actually need — a decent flashlight — because it’s buried under three MREs and a folding saw.

The problem isn’t the gear. It’s the approach. A vehicle EDC kit shouldn’t be a bug-out bag. It should be a curated, organized set of tools you actually reach for — on a regular Tuesday when you need to cut zip ties, charge a dead phone, or fix a flat in the dark.

Let me show you how to build one that works.

The Two-Tier System: Daily Reach vs. Emergency Backup

The key to a vehicle kit that actually gets used is splitting it into two layers:

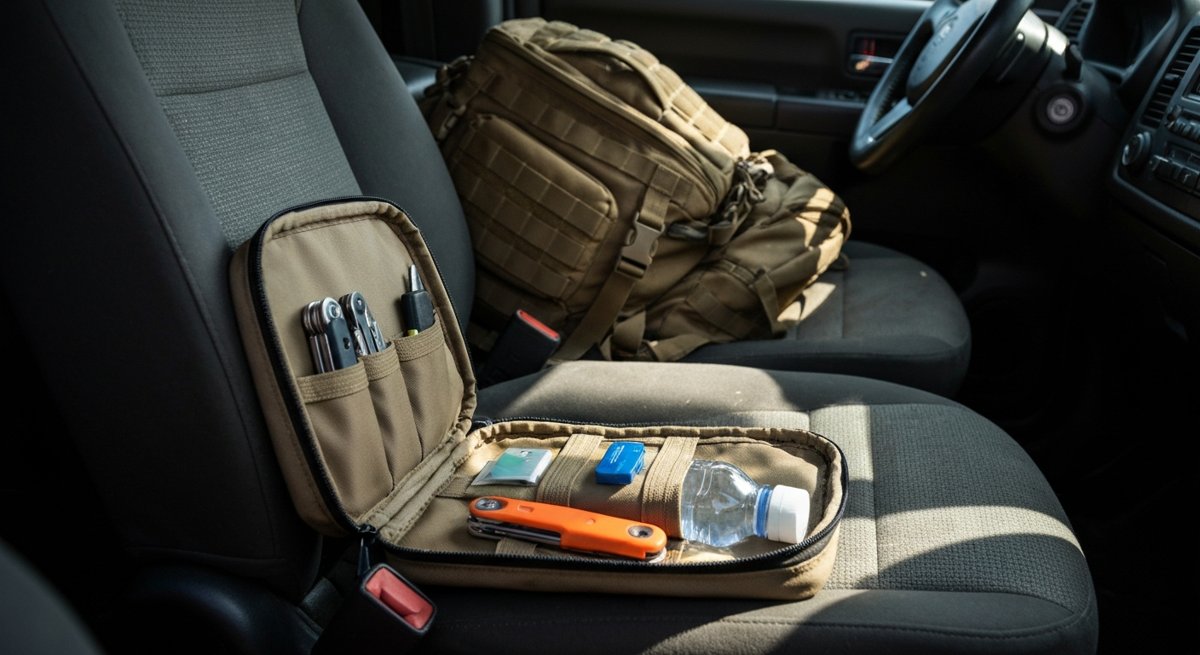
Tier 1 — The Daily Reach Pouch. This is small. Think organizer pouch or glove-box insert. These are the items you grab weekly or even daily. They live within arm’s reach — center console, door pocket, or glove box.

Tier 2 — The Trunk Kit. This is your emergency layer. It stays packed and organized in a rigid container in your trunk or truck bed. You touch it monthly to rotate water and check batteries, but when you need it, you know exactly where everything is.

This separation is everything. When your daily-use items are mixed in with emergency gear, you stop reaching for any of it.

Tier 1: Your Daily Reach Kit (6 Items Max)

Constraint is the point here. If it doesn’t fit in an organizer the size of a large paperback, you’re overpacking this tier. Here’s what earns a spot:

1. A quality folding knife. Not a $200 collector piece you’re afraid to use. A solid, mid-range folder with a 3–3.5 inch blade that you’ll actually pull out to cut cordage, open packages, or strip wire. I like the Civivi Elementum or Ontario RAT II for this role — under $50, great steel, zero guilt using them hard.

2. A compact flashlight (600+ lumens). Not the 3,000-lumen tactical cannon. A single-cell 18650 or even AA light that fits in your hand, throws enough light to check under the hood or illuminate a trail at night. The sweet spot is 600–1,000 lumens with a low moonlight mode. Charge it when you charge your phone — make it a habit.

3. A USB charging cable and small power bank. Boring? Sure. But when your phone dies at 4% and you need maps, this is worth more than your fixed-blade collection. A 10,000mAh bank is plenty — charges most phones twice. Keep it topped off.

4. A pen and waterproof notepad. You’ll use these more than you think. Jotting down license plates, notes, measurements, phone numbers when your hands are too dirty for a touchscreen. Fisher Space Pen is the gold standard, but any metal-body pen works.

5. A lighter. Even if you don’t smoke. A simple Bic lighter is the most reliable fire source ever made and costs a dollar. Toss one in the pouch and forget about it until you need it.

6. Cash. $40–60 in small bills. Folded flat in the pouch. When the card reader’s down, the power’s out, or you need to tip someone for a jump start, cash is king. Don’t overthink this — just put it in there.

Tier 2: The Trunk Emergency Kit

This lives in a rigid container — a small plastic tote or ammo can, not a soft bag. Why? Because in your trunk, soft bags get crushed, shift around, and lose their shape. A rigid box stays organized and stackable.

Here’s what goes in it:

  • Jumper cables or a lithium jump starter. The jump starter is better — it’s compact, works solo, and most double as a power bank. Worth the $60–80.
  • Basic first aid kit. Not a field surgery kit. Band-aids, gauze, medical tape, ibuprofen, antihistamines, and a tourniquet if you’ve trained with one. If you haven’t trained with a tourniquet, skip it — gear you can’t use is dead weight.
  • Two bottles of water. Rotate quarterly. Mark the date on the cap with a Sharpie.
  • A rain poncho. One of those $3 emergency ponchos, still in the wrapper. Takes up zero space and turns a miserable roadside tire change into a merely annoying one.
  • Work gloves. Mechanix or similar. Changing a tire, moving debris, handling broken glass — bare hands are a liability.
  • A multi-tool. This is where your Leatherman or Gerber lives. Pliers, screwdrivers, a blade — the multi-tool is for problems that need more than a folding knife.
  • Duct tape. Wrap 10 feet around an old gift card. Takes up almost no space, fixes almost anything temporarily.
  • Reflective triangle or road flares. If you’re stopped on the shoulder at night, visibility is survival. Non-negotiable.
  • A basic tow strap. 20-foot, 10,000lb rated. Not a bungee cord. Not a ratchet strap. An actual recovery strap. If you live anywhere with mud, snow, or ditches, this will save you a tow truck bill at least once.

The Part Everyone Skips: Maintenance

A kit you build and forget is a kit that fails when you need it. Set a quarterly reminder — first day of each season works great. Takes five minutes:

  1. Check water expiration. Replace if needed.
  2. Test the flashlight and jump starter. Charge both.
  3. Verify the power bank has charge.
  4. Check the first aid kit — anything used? Replace it.
  5. Cash still there? (Seriously. It walks.)

That’s it. Five checks, five minutes, four times a year.

What NOT to Put in Your Vehicle Kit

This is where I’ll get some pushback, but here’s my honest take on what doesn’t belong:

  • MREs or heavy food. They take up too much space, they’re affected by heat, and unless you’re driving through the Nevada desert for 12 hours, you don’t need them. A couple of granola bars in Tier 2 is fine. Anything more is cosplay.
  • Weapons beyond your folding knife. Your vehicle kit is for roadside problems and minor emergencies. If personal defense is a priority, that’s a separate, dedicated decision — not something to lump in with your jumper cables.
  • Survival blankets as your only warmth layer. Those crinkly mylar blankets are better than nothing, but only barely. If you live somewhere cold, keep an actual fleece blanket or jacket in the trunk. It doubles as a picnic blanket the other 11 months.
  • Anything you haven’t tested. That fire starter kit you bought? Have you used it? The water filter straw? Ever actually drunk through one? Don’t carry gear you can’t operate under stress. Period.

The Takeaway

The best vehicle EDC kit isn’t the biggest one. It’s the one you actually use, actually maintain, and can actually find things in when it’s dark, raining, and your hands are shaking.

Build it in two tiers. Keep the daily stuff within reach. Keep the emergency stuff organized in a rigid box. Review it quarterly. Done.

Your challenge this week: Pull everything out of your vehicle right now — glove box, center console, trunk, under the seats. Lay it all out. How much of it is actually useful? How much is junk drawer overflow? Rebuild it with intent. Two tiers. Six items max for Tier 1. One rigid box for Tier 2. Report back.

Door Security: 5 Cheap Upgrades That Stop 90% of Break-Ins

Here’s a stat that should bother you: according to FBI data, over 55% of residential burglaries happen through a door. Not a window. Not through some Mission Impossible ceiling vent. The front door. Sometimes the back door. Sometimes the garage entry door. But it’s almost always a door.

And here’s the kicker — most of those doors fail because of cheap hardware, bad installation, or things the homeowner could have fixed in an afternoon for under $100.

I’m not going to tell you to buy a $3,000 security system. I’m going to show you five upgrades you can do this weekend, most with a drill and a screwdriver, that will make your doors genuinely hard to kick in.

1. Replace Your Strike Plate Screws (Cost: $0–$5)

This is the single most important thing on this list, and it costs almost nothing.

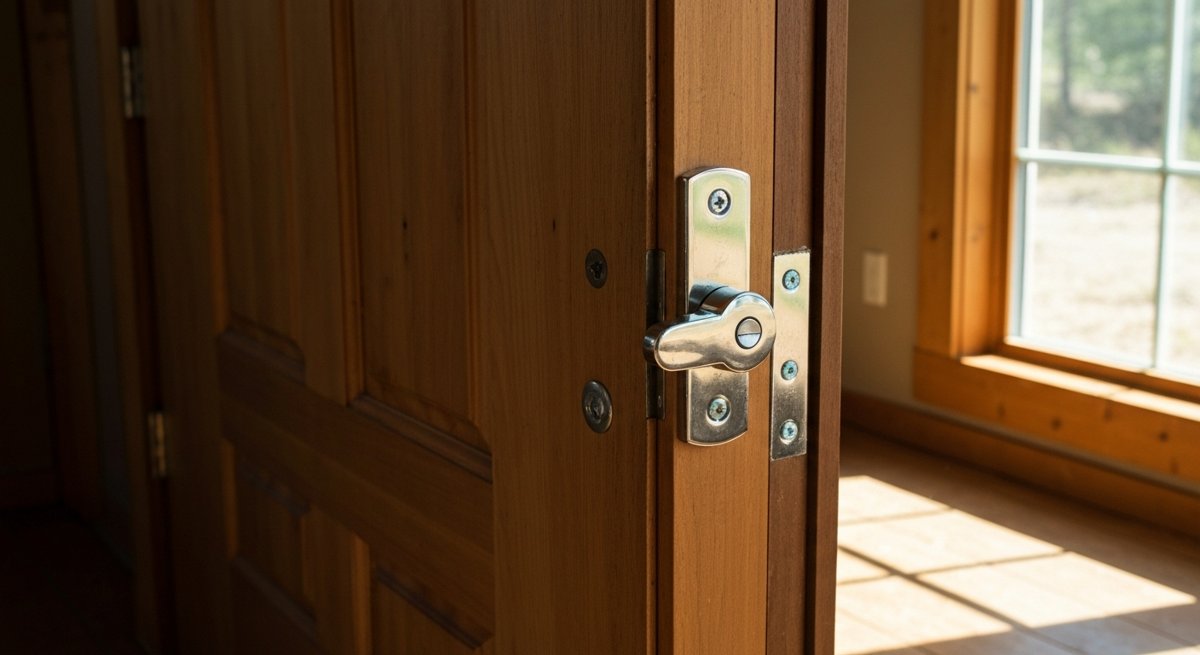
Go look at your front door’s strike plate right now — that metal piece on the door frame where the deadbolt slides in. Pull it off. Look at the screws. I’ll bet you a six-pack they’re 3/4-inch screws that only grip the door jamb — a thin piece of pine that splits like kindling when someone puts a boot to it.

The fix: Replace those screws with 3-inch deck screws. That’s it. Three-inch screws pass through the jamb and bite into the structural framing (the jack stud) behind it. You’re going from a screw gripping half an inch of soft wood to one anchored in the actual structure of your house.

While you’re at it, do the same for your hinges. Most doors come with short hinge screws too. Replace at least one screw per hinge with a 3-inch screw. Now the entire door is anchored to the framing, not just hanging on the trim.

Time: 10 minutes. Difficulty: If you can use a drill, you can do this.

2. Install a Reinforced Strike Plate (Cost: $10–$25)

The stock strike plate that came with your door is a joke. It’s a small rectangle of thin metal held by those pathetic short screws we just talked about.

A reinforced strike plate is a heavy-gauge steel plate, usually 12 to 48 inches long, that distributes the force of a kick across a much larger area of the door frame. Brands like Door Armor, StrikeMaster II, and Prime-Line make versions you can find at any hardware store or online.

Why it matters: A standard deadbolt with a standard strike plate can be kicked in with about 100 pounds of force. With a reinforced plate and 3-inch screws, that number jumps to over 800 pounds. That’s the difference between one kick and “I’m going to find a different house.”

Time: 20 minutes. Difficulty: Easy — it’s just screws and a plate.

3. Add a Door Reinforcement Kit to Your Jamb (Cost: $50–$80)

If you want to go a step further — and I think you should, especially on your front and back doors — get a full door reinforcement kit. These typically include:

  • A full-length jamb reinforcement plate (covers the entire lock side of the frame)
  • Hinge reinforcement plates (wraps around each hinge)
  • A door edge shield (reinforces the area around the deadbolt on the door itself)

Brands like EverPlus, Defender Security, and Door Armor make kits that cover all three. They’re painted to match standard door colors, so they’re barely noticeable once installed.

My opinion: This is the best $60 you’ll spend on home security. Period. Better than cameras. Better than alarm stickers. A camera watches someone break in. A reinforced door stops them.

Time: 45 minutes per door. Difficulty: Moderate — you need to be comfortable with a drill and chisel.

4. Upgrade to a Grade 1 or Grade 2 Deadbolt (Cost: $30–$70)

Deadbolts are graded 1 through 3 by ANSI/BHMA standards. Most builder-grade deadbolts are Grade 3 — the lowest tier. They’re designed to meet building code minimums, not to actually resist forced entry.

What the grades mean:

  • Grade 3: Survives 2 strikes in cycle testing. The participation trophy of deadbolts.
  • Grade 2: Survives 4 strikes. Significantly stronger construction. Good for residential.
  • Grade 1: Survives 10 strikes. Commercial-grade. This is what you want if you’re serious.

Schlage B60N (Grade 1) runs about $40-50. That’s not a big investment for a lock that’s actually built to take a hit. Make sure the bolt throw is at least 1 inch — anything less and it’s not fully engaging the strike plate.

Time: 15 minutes if replacing an existing deadbolt. Difficulty: Easy swap.

5. Don’t Forget the Sliding Door (Cost: $10–$30)

Sliding glass doors are a massive weak point that people consistently ignore. The factory latch on most sliders is basically decorative. Here’s what to do:

  • Drop a security bar in the track. A cut piece of broom handle works, but a purpose-built bar like the Master Lock 265D adjusts to fit and won’t roll out. $12.
  • Install anti-lift pins. Drill a small hole at a downward angle through the inside frame into the outside frame (when the door is closed). Drop a nail or pin in. This prevents someone from lifting the door off its track. $0.
  • Add a secondary foot lock. These screw into the bottom track and flip up to block the door from sliding. Cheap, effective, and adds a second point of resistance.

Time: 15 minutes. Difficulty: Dead simple.

The Uncomfortable Truth

Most burglaries are crimes of opportunity. The guy isn’t picking your lock. He’s not disabling your alarm. He’s kicking your door once, hard, and he’s in. The whole thing takes 10 seconds.

Every upgrade on this list makes that kick harder — or impossible. And the total cost for all five? Somewhere between $50 and $200 depending on how many doors you’re hardening. That’s less than one month of a monitored alarm service that does nothing to physically stop entry.

I’m not saying don’t get cameras or an alarm. I’m saying those are layer two. Layer one is making your doors actually hard to get through. Physical security first, electronic security second.

Your Weekend Challenge

Right now — today — go pull the strike plate off your front door and look at those screws. If they’re short, you know what to do. That one upgrade alone makes your door dramatically harder to force open, and it takes less time than scrolling through your phone.

Then work your way down this list. One door per weekend if you want to take it slow. By the end of the month, every entry point in your home will be genuinely hardened — not “security sticker” hardened, but actually hardened.

Stop decorating your doors with security theater. Reinforce them.